
Fresh flowers are beautiful—but fleeting. If you love floral décor and want pieces that stay gorgeous for months (or even years), DIY flower crafts are the sweet spot. With the right materials and a few pro tricks, you can make blooms that look realistic, hold their color, and survive everyday life.
Let’s break it down step by step so you can create flower crafts that truly last.
Why Long-Lasting Flower Crafts Are Worth Making
DIY flower crafts aren’t just pretty—they’re practical.
They:
- Save money over time
- Require zero watering
- Work in any season
- Make thoughtful handmade gifts
- Elevate your home without constant upkeep
The secret is choosing the right flower type and using techniques that protect shape and color.
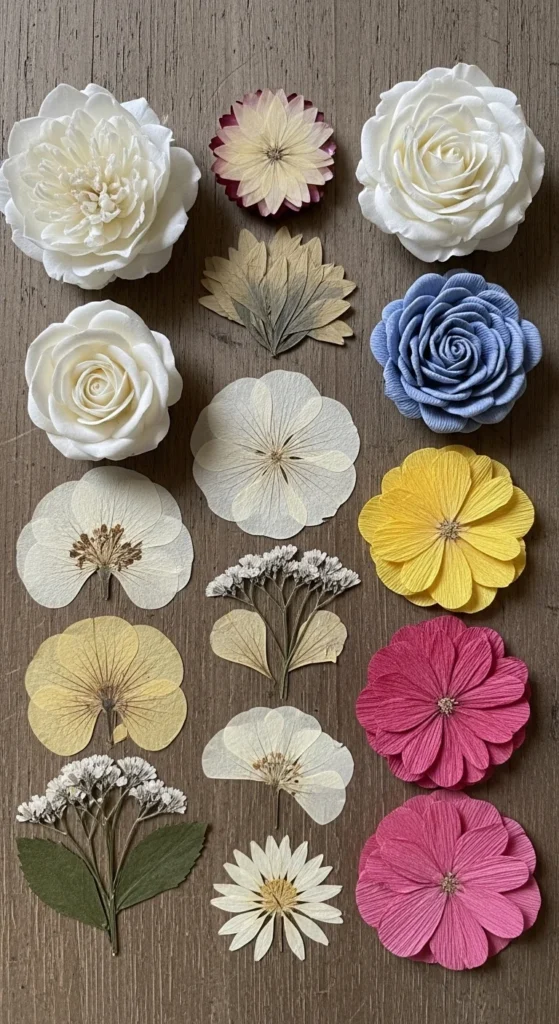
Choose the Best Flowers for Longevity
Not all DIY flowers are created equal. If durability is your goal, start here.
Top long-lasting options
- High-quality faux flowers (silk or latex-coated fabric)
- Dried flowers (naturally air-dried or silica-dried)
- Pressed flowers (best for frames and paper crafts)
- Crepe paper flowers (surprisingly durable when sealed)
Pro tip
Avoid thin plastic flowers—they fade fast and crease easily. Look for flexible stems and layered petals that mimic real blooms.
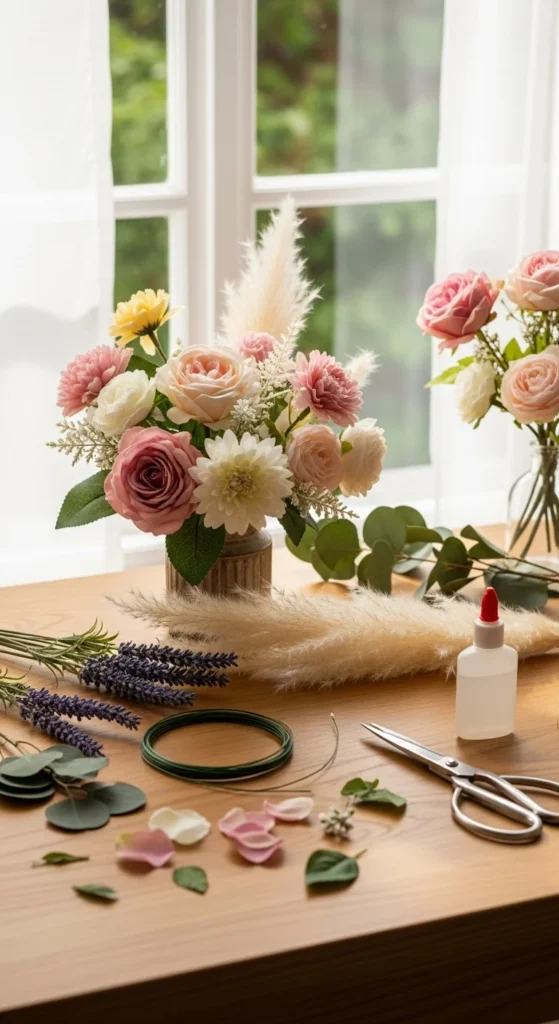
Prep Your Flowers the Right Way
Prepping is what separates “cute for a week” from “beautiful for years.”
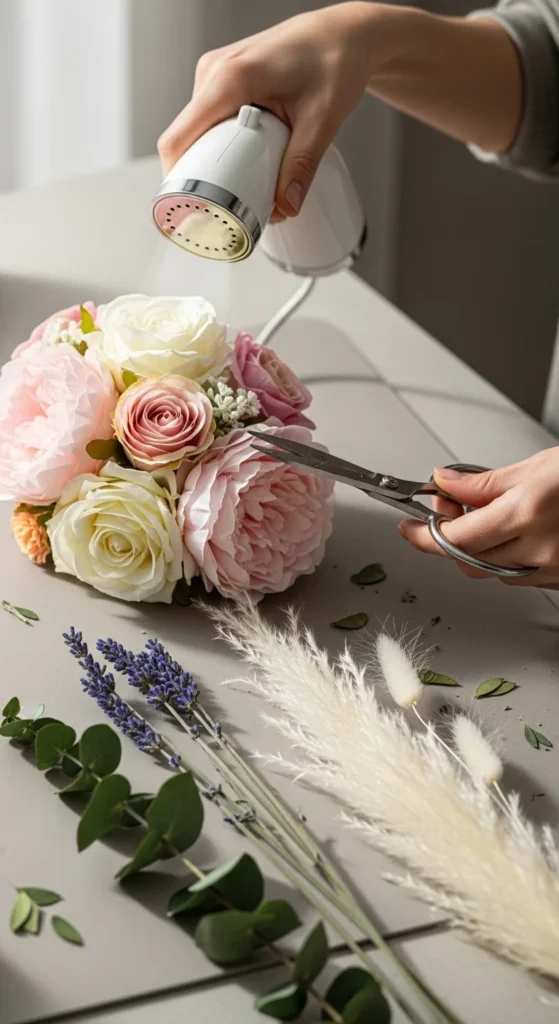
For faux flowers
- Gently rinse with cool water if dusty
- Air dry completely
- Steam lightly to remove creases (keep distance)
For dried flowers
- Handle minimally to prevent shedding
- Trim stems with sharp scissors
- Reinforce fragile stems with floral wire
For pressed flowers
- Keep them flat until final use
- Avoid humid rooms during crafting
Use Strong, Craft-Grade Adhesives
Glue choice matters more than people think.
Best adhesives for flower crafts
- Hot glue (high-temp for structure, low-temp for delicate work)
- Craft glue (for paper and pressed flowers)
- Floral tape (for wrapping stems and joints)
Smart gluing tips
- Glue in small sections
- Hold pieces together until fully set
- Reinforce heavy blooms with wire before gluing
This prevents sagging, separation, and drooping over time.
Seal and Protect for Long Life
This step is often skipped—and it’s why many crafts don’t last.
How to protect your finished flowers
- Use a clear matte sealant spray for paper or dried flowers
- Apply light coats, letting each dry fully
- Keep sprays well-ventilated and even
Sealing:
- Locks in color
- Reduces moisture damage
- Minimizes dust buildup

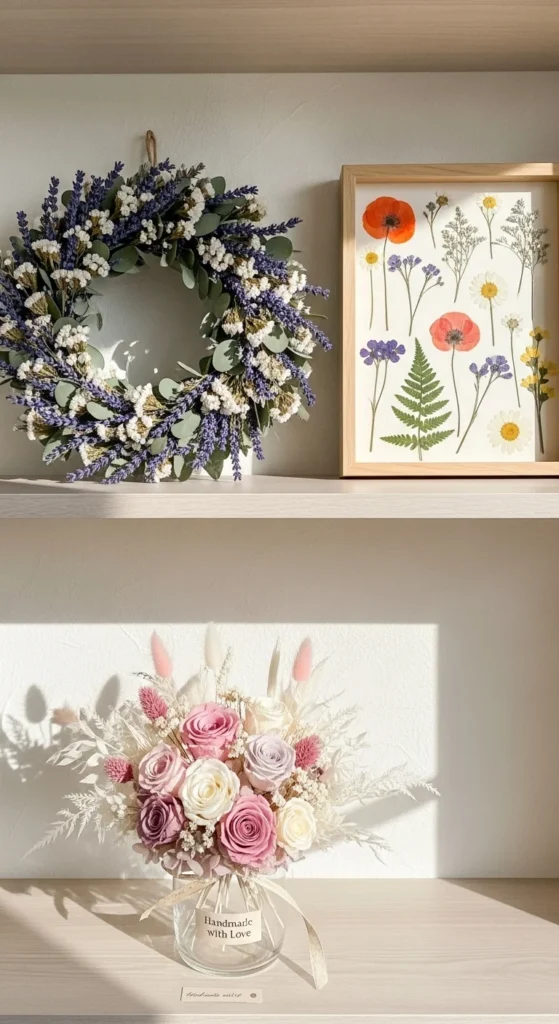
Assemble Crafts That Stay Strong
Now comes the fun part—turning flowers into décor.
Long-lasting project ideas
- Floral wreaths with wired bases
- Shadow box art using pressed blooms
- Centerpieces with foam blocks hidden inside containers
- Mini bouquets tied with twine and reinforced stems
Assembly tips
- Balance weight evenly
- Anchor stems deep into bases
- Test stability before final placement
If it wobbles now, it won’t survive later.
Display and Store Them Correctly
Even durable flower crafts need smart placement.
Best display practices
- Keep out of direct sunlight
- Avoid high humidity areas
- Dust gently with a soft brush or cool air
Storage tips
- Wrap in tissue paper
- Store upright in boxes
- Add silica packets to reduce moisture
Common Mistakes to Avoid
A few small errors can shorten the life of your project.
Avoid:
- Using cheap materials
- Skipping sealant
- Overloading glue
- Displaying near heat sources
- Rushing drying time
Patience is part of the craft.
Final Thoughts: Make It Once, Love It Longer
DIY flower crafts that last aren’t about perfection—they’re about smart choices and thoughtful steps. When you prep properly, use quality materials, and protect your work, your creations can look fresh long after real flowers fade.
Save this guide for your next craft day—and start making flowers that last.

Leave a Reply