
Paper flowers are one of those crafts that look way more complicated than they actually are. With just a few basic supplies and a little patience, you can create blooms that last forever—no watering required. Whether you want to decorate your home, make party decor, or create thoughtful handmade gifts, DIY paper flowers are a perfect place to start.
Let’s break it down step by step so you can start crafting with confidence.
Why Paper Flowers Are a Great DIY Project
Paper flowers are beginner-friendly, budget-conscious, and endlessly customizable. You can make them as simple or as detailed as you like.
Some reasons people love them:
- They never wilt or fade
- You can match any color scheme
- They’re great for all ages
- Perfect for home decor, events, or gifts
Best of all, you don’t need fancy tools or artistic skills to get started.
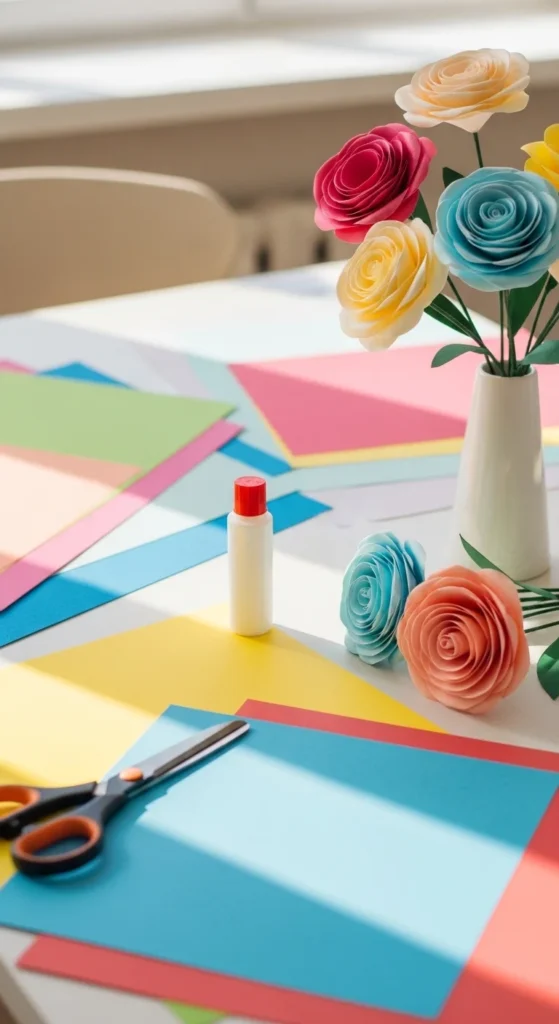
Supplies You’ll Need (Keep It Simple)
Before you begin, gather your materials. You likely already have most of these at home.
Basic supplies:
- Colored paper or cardstock
- Scissors
- Glue or glue stick
- Pencil
- Ruler (optional)
Optional extras for more detail:
- Floral wire or pipe cleaners
- Tape
- Markers or paint for shading

Tip: Start with lightweight paper if you’re a beginner—it’s easier to fold and shape.
Step-by-Step: How to Make Easy Paper Flowers
This simple method works for roses, daisies, and many other flower styles.
Step 1: Cut Your Petals
- Fold your paper into layers
- Draw a simple petal shape
- Cut through all layers at once
You don’t need perfection here. Slightly uneven petals often make flowers look more natural.
Step 2: Shape the Petals
- Gently curl the edges using your fingers or a pencil
- Add light bends to give dimension
This step brings your flower to life.
Step 3: Build the Flower
- Start with a small rolled piece of paper for the center
- Glue petals around it, one layer at a time
- Rotate as you go for an even shape
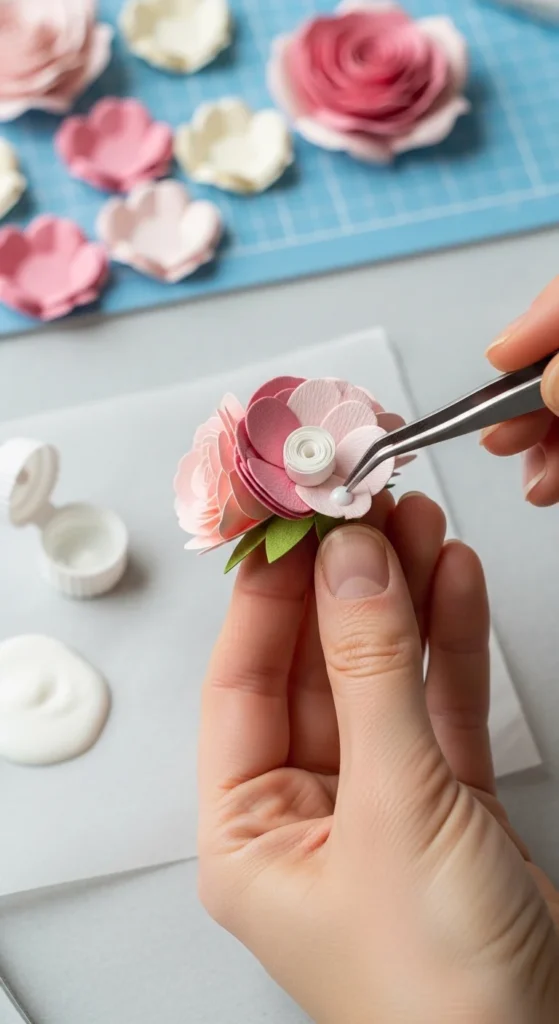
Take your time. Let each layer set for a moment before adding the next.
Easy Flower Styles for Beginners
If you’re new to paper crafting, try these styles first:
- Spiral roses: Cut a spiral, roll it up, and glue the base
- Layered blooms: Stack petal shapes from large to small
- Fringed flowers: Cut fringe for fluffy centers
Each style uses the same basic skills, so once you learn one, the others feel much easier.
Adding Stems and Leaves
Once your flower head is done, you can stop there—or take it a step further.
For stems:
- Wrap floral wire with green paper
- Use pipe cleaners for a quicker option
- Roll green paper tightly and glue
For leaves:
- Cut simple leaf shapes
- Add a crease down the center
- Glue them just below the flower head
These small details make your flowers look more polished and realistic.
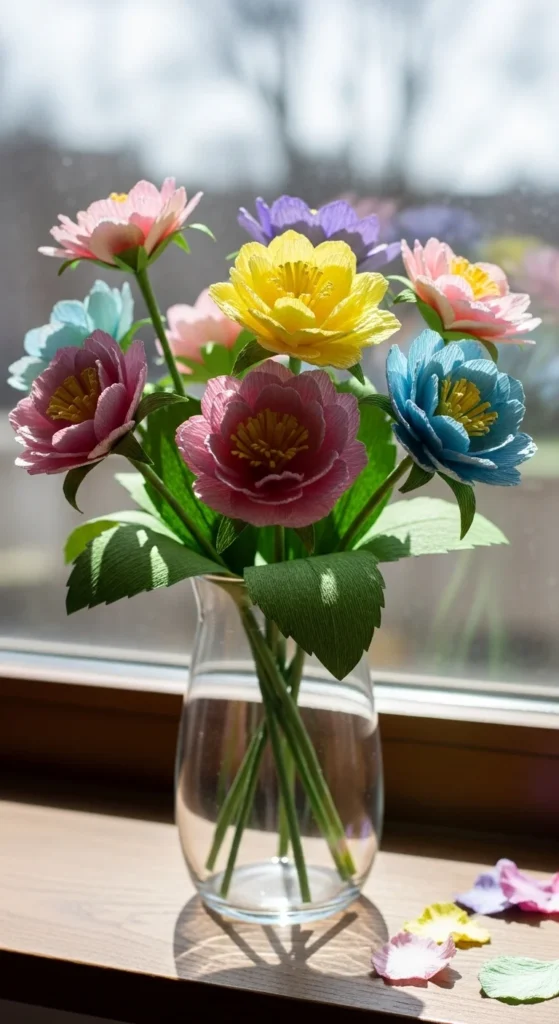
Creative Ways to Use Paper Flowers
DIY paper flowers aren’t just for vases. Try using them in unexpected ways:
- Wall decor or backdrops
- Party centerpieces
- Gift wrapping accents
- Wreaths or garlands
- Scrapbooks or cards
Mix different sizes and colors to create visual interest.
Tips for Better Results Every Time
Keep these quick tips in mind as you craft:
- Start simple before trying complex designs
- Use sharp scissors for clean edges
- Layer colors for depth
- Make extra petals—just in case
- Practice on scrap paper first
Remember, handmade means unique. Small imperfections add charm.
Final Thoughts: Start Small and Have Fun
DIY paper flowers are proof that beautiful crafts don’t have to be complicated. With a few basic supplies and easy steps, you can create something truly special—no experience required.
Once you make your first flower, you’ll probably want to make ten more.
Save this guide for later, grab some paper, and start creating your own everlasting blooms

Leave a Reply