
Mirrors are more than just functional—they’re a chance to get creative and elevate any room with a personal touch. Instead of buying pricey, pre-decorated mirrors, why not try your hand at DIY mirror decor? With just a few supplies and a dash of creativity, you can transform a plain mirror into a stunning focal point that reflects your style.
Whether it’s for your bedroom, living room, or entryway, DIY mirror decor is easier than it looks. Let’s dive into some simple, step-by-step ideas that anyone can tackle.
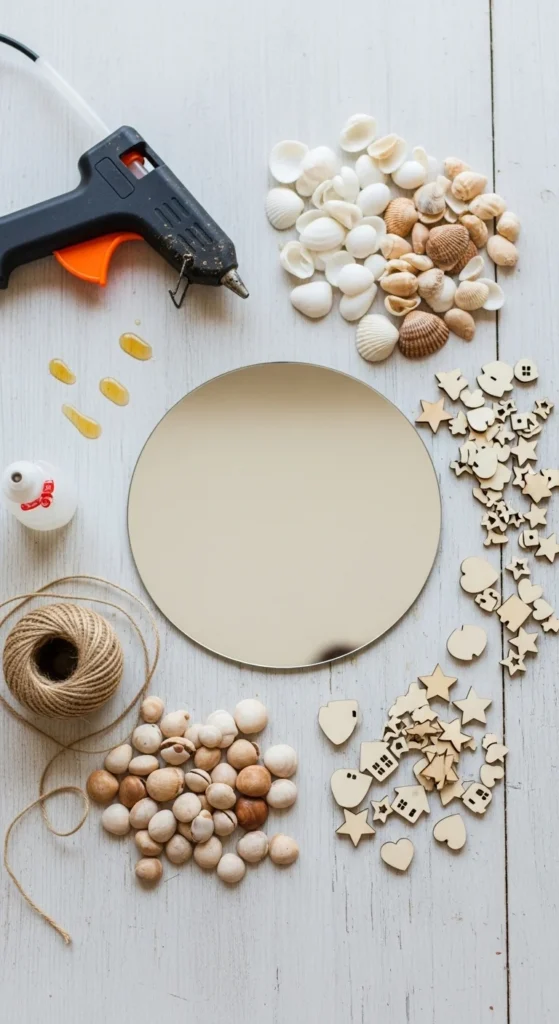
Gather Your Supplies
Before starting, make sure you have all the materials ready. The beauty of DIY mirror decor is that you don’t need fancy tools—most of these items are easy to find at craft stores or online.
Here’s a basic list to get you started:
- A plain mirror (any shape or size)
- Hot glue gun and glue sticks
- Decorative elements: beads, shells, faux flowers, wooden shapes, or metal accents
- Painter’s tape (to help create patterns)
- Spray paint or acrylic paint (optional for a custom frame color)
- Twine, ribbon, or rope for added texture
Pro tip: Start small! You can always add more elements later, but it’s harder to remove glue or paint once it’s set.
Choose Your Mirror Style
Before gluing anything down, think about the overall vibe you want to create. Here are a few popular styles:
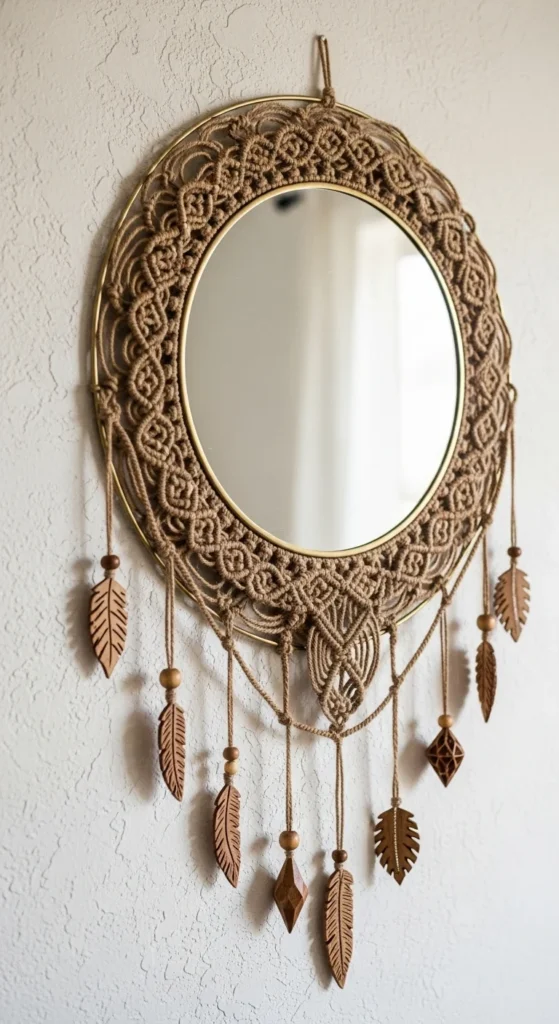
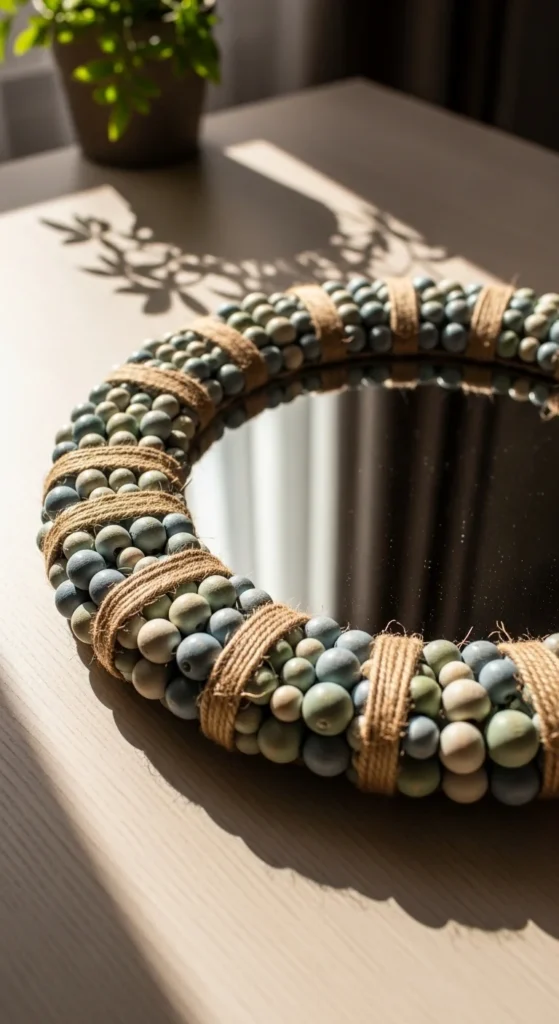
- Boho: Think natural materials like twine, feathers, and wooden beads.
- Glam: Metallic paints, crystals, or mirrored tiles add sparkle.
- Minimalist: Simple lines, neutral colors, and subtle textures.
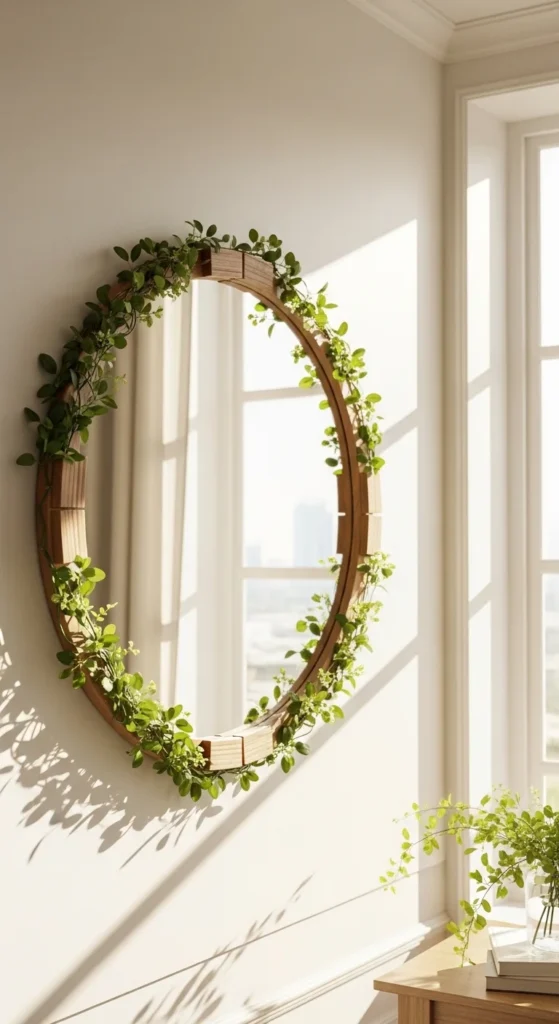
- Nature-inspired: Use shells, leaves, or pressed flowers for an organic feel.
Mapping out your design with pencil marks or painter’s tape can help you visualize before committing to glue.
Step-by-Step Decoration Tips
Once your style is decided, it’s time to decorate. Follow these easy steps:
- Prep the Mirror:
- Clean your mirror thoroughly to remove dust and fingerprints.
- Use painter’s tape to mark areas where you don’t want glue or paint.
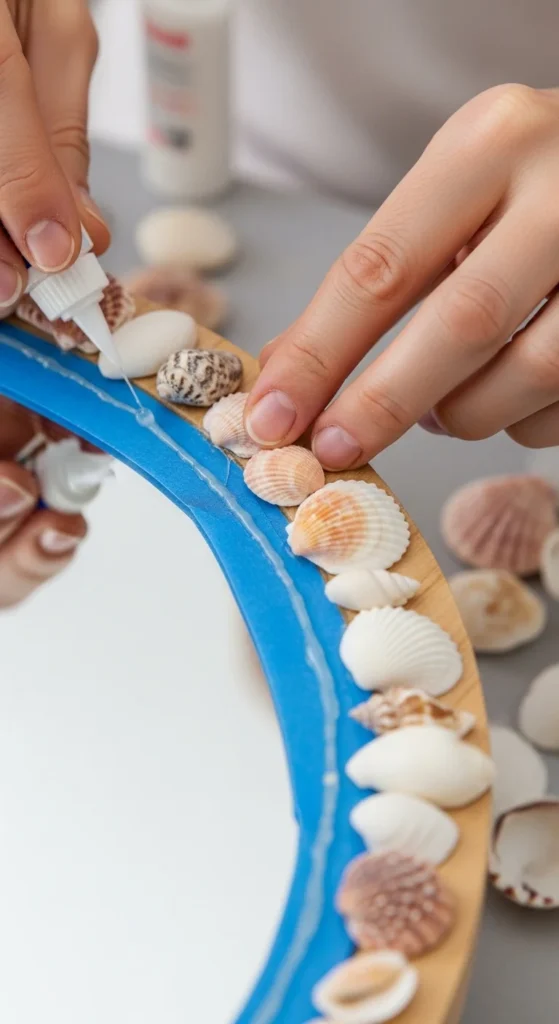
- Attach Decorative Elements:
- Apply small amounts of hot glue to the back of each item.
- Press firmly on the mirror frame or the edges of the glass.
- Work from the outer edges inward for a layered look.
- Add Paint or Accents:
- Spray paint or hand-paint parts of the frame for color.
- Metallic paint can add a glamorous touch without being overwhelming.
- Final Touches:
- Wrap twine or ribbon around the edges for texture.
- Add tiny gems or beads to fill in empty spaces.
Remember: imperfections add character! DIY mirror decor is all about personal expression, so don’t stress about being too precise.
Displaying Your DIY Mirror
How you display your decorated mirror can enhance its impact:
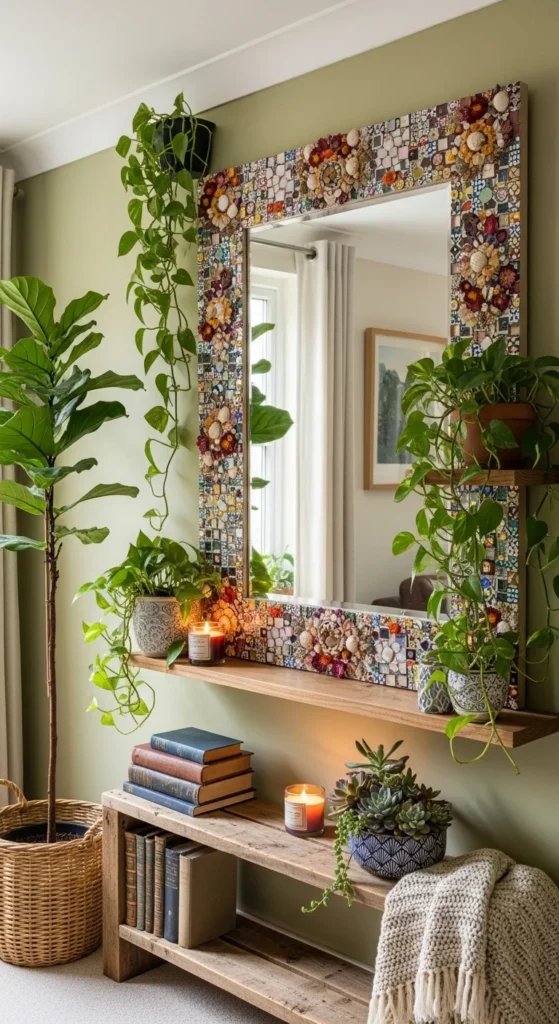
- Entryway Statement: Hang it above a console table with a few small potted plants.
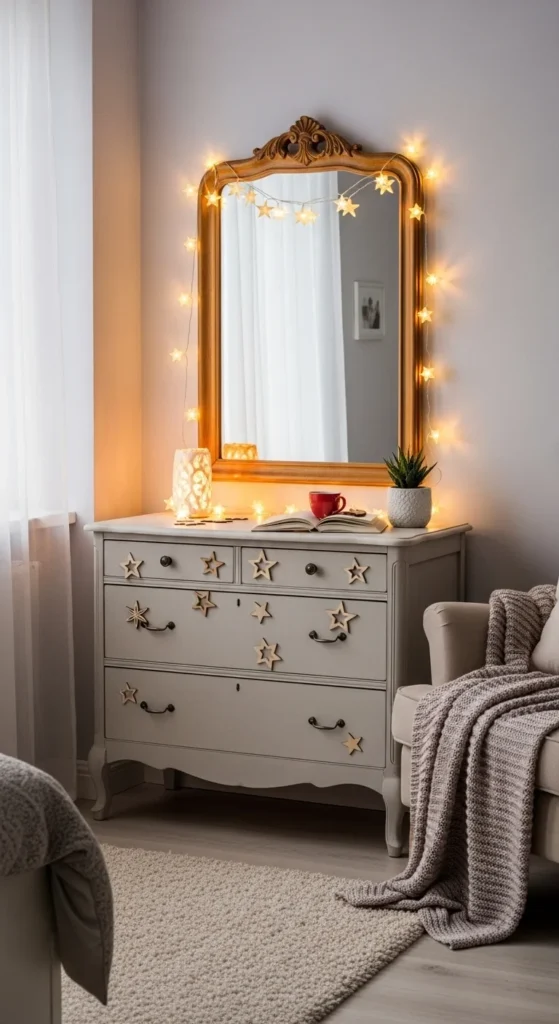
- Bedroom Accent: Place it over your dresser and surround it with fairy lights.
- Gallery Wall: Combine your mirror with framed art or photos for a dynamic look.
Tip: Use removable wall hooks if you want flexibility to switch mirrors between rooms.
Quick DIY Hacks
- Use faux flowers to match seasonal colors—easy to swap out anytime.
- Layer textures like rope, beads, and paint for depth without clutter.
- Repurpose old jewelry or buttons for unique, budget-friendly accents.
- If you make a mistake, gently heat glue spots with a hairdryer to remove pieces without breaking the mirror.
Final Thoughts
DIY mirror decor is all about creativity, fun, and making something uniquely yours. With just a few materials and a little imagination, even a plain mirror can become a stunning piece of art. Plus, crafting your own decor gives you the satisfaction of knowing your home reflects your personal style.
So grab your mirror, your favorite decorations, and start designing today—you might just discover your new favorite home project.
Save this guide for later and start creating mirrors that truly shine!

Leave a Reply