
Are you looking to add a splash of creativity to your home without spending a fortune? DIY abstract art is the perfect way to express yourself, experiment with colors, and create something totally unique. The best part? You don’t need to be a professional artist to make stunning pieces that impress friends or brighten your walls.
Abstract art is all about freedom—there are no rules, no limits, and no “right” or “wrong” way to do it. From bold splashes of color to delicate drips and textured layers, your canvas is your playground. In this guide, we’ll walk you through simple steps, tips, and techniques to create your own abstract masterpieces at home.
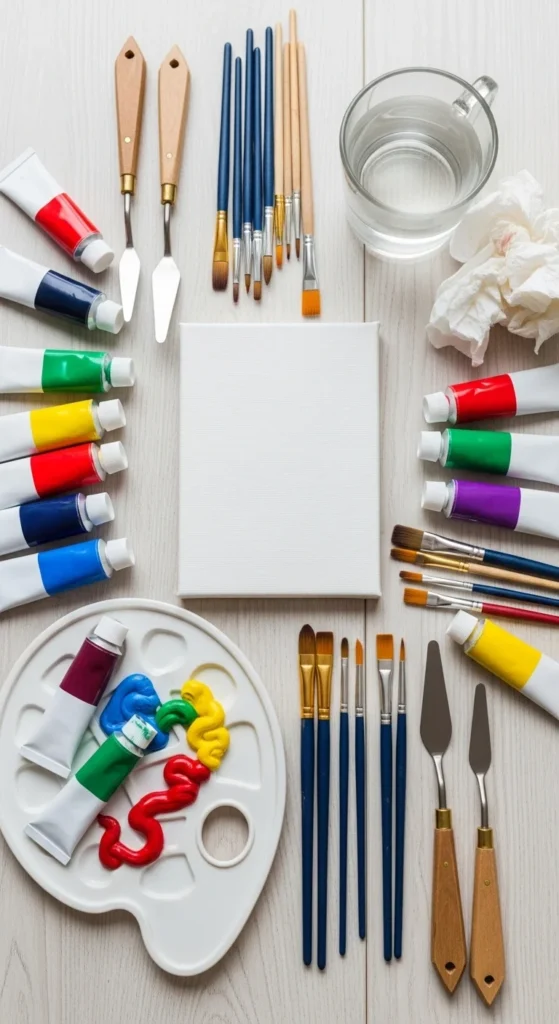
Gather Your Supplies
Before you dive in, it’s important to have the right materials. The great news is that you don’t need fancy tools—just a few basics will do.
Essentials:
- Canvas or thick paper
- Acrylic paints (or watercolor if you prefer a lighter effect)
- Paintbrushes of various sizes
- Palette or disposable plate for mixing
- Cups of water for cleaning brushes
- Old cloth or paper towels
Optional extras:
- Palette knives for scraping and texture
- Sponges for soft blending
- Masking tape for geometric designs
Tip: Don’t worry about perfection—abstract art is all about exploring and experimenting!
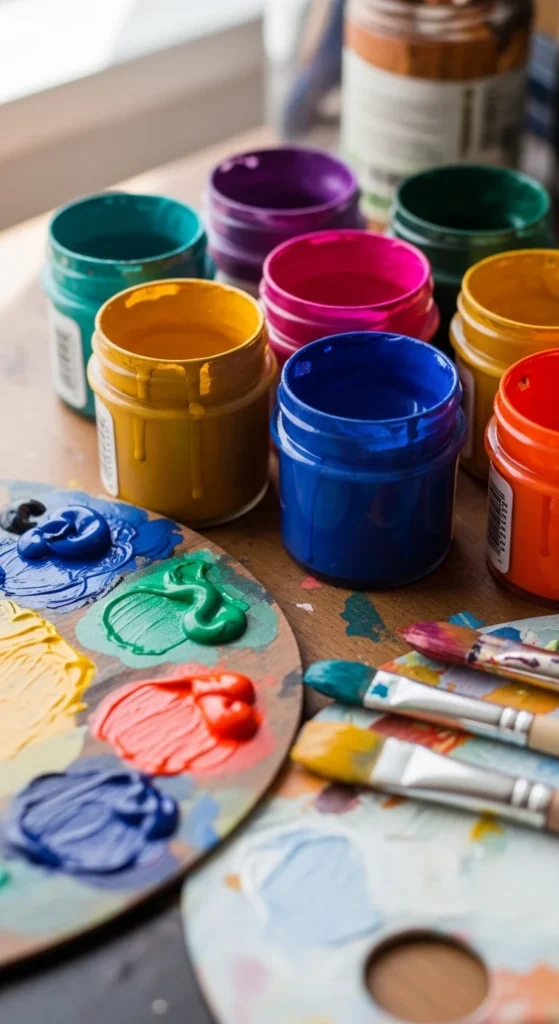
Choose Your Colors
Color choice sets the tone of your piece. Think about the mood you want to create:
- Vibrant & energetic: Bright reds, oranges, yellows
- Calm & soothing: Blues, greens, soft pastels
- Bold & dramatic: Black, deep purples, metallic accents
A good practice is to limit your palette to 3–5 colors to avoid overwhelming the canvas. You can mix them for endless variations.
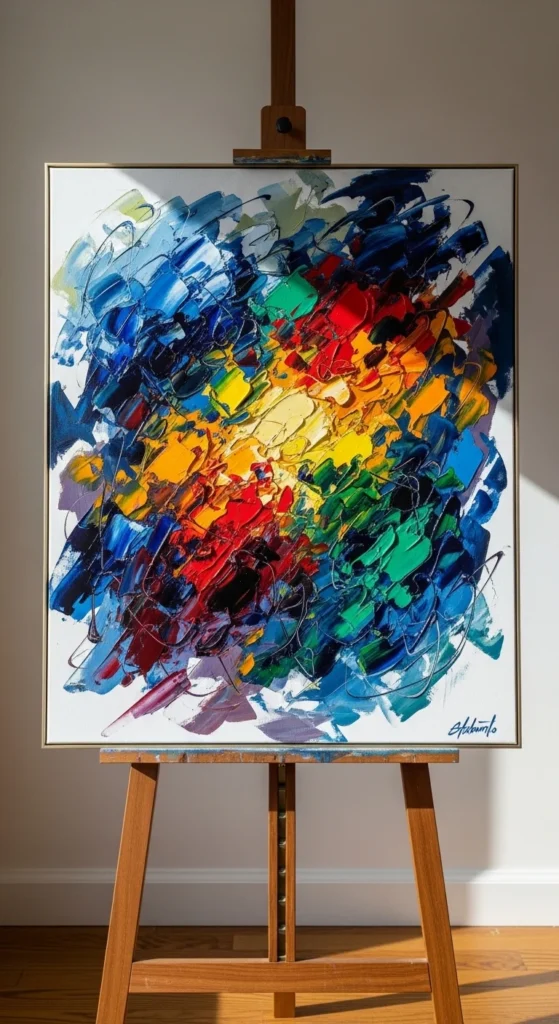
Start with Basic Shapes & Layers
Now it’s time to play! Start by applying paint in simple shapes or strokes. Don’t overthink it—random swipes, dots, and lines often look more dynamic than precise forms.
Steps:
- Paint your base layer with a single color or gradient.
- Add shapes, lines, or splashes of contrasting colors.
- Let each layer dry slightly before adding the next to create depth.
Tip: Step back occasionally to see your work from a distance. Sometimes abstract art comes alive when you view it as a whole.

Experiment with Techniques
Abstract art thrives on experimentation. Try these simple techniques to add interest:
- Drip painting: Let paint drip down your canvas for a natural flow.
- Dry brushing: Use a dry brush for scratchy, textured strokes.
- Sponge blending: Dab colors with a sponge for a soft, diffused effect.
- Scraping: Use a palette knife or credit card to scrape paint and reveal layers underneath.
Don’t be afraid to mix techniques. Sometimes the most unexpected combinations create the most striking results.

Add Finishing Touches
Once your painting feels balanced, add finishing touches. These could be small highlights, splatters, or metallic accents for extra sparkle. Remember, abstract art is subjective—if it looks good to you, it’s complete.
Tips:
- Avoid overworking the canvas; sometimes less is more.
- Sign your artwork discreetly in a corner.
- Consider framing your piece to make it pop on a wall.
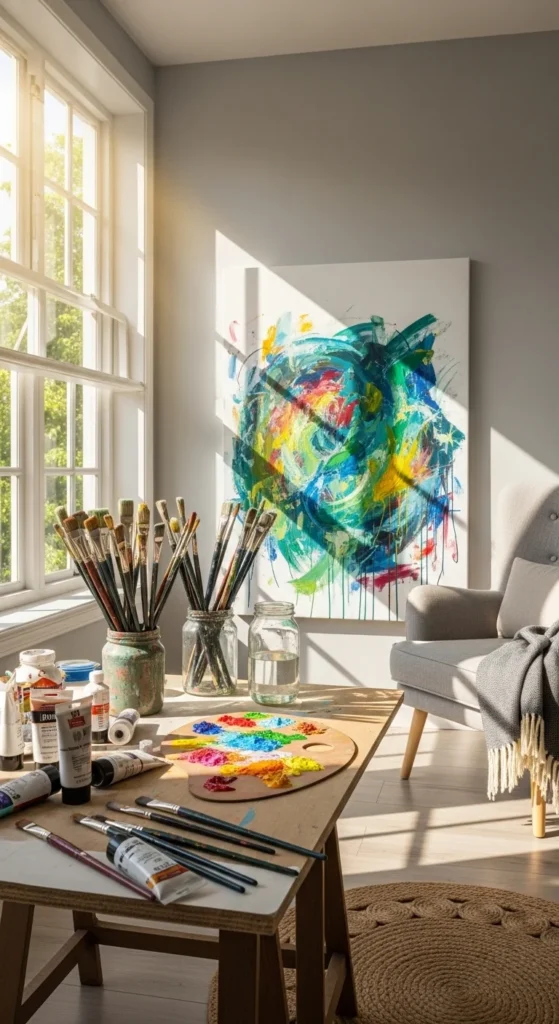
Display Your Art
Your masterpiece deserves to be seen! Hang it in a living room, bedroom, or hallway. You can also create a gallery wall by combining several smaller abstract pieces for a bold statement.
Tip: Rotate your art seasonally or pair it with complementary decor to keep your space fresh and inspiring.
Creating DIY abstract art at home is not just about the final piece—it’s about the joy of experimenting, expressing yourself, and discovering your own style. So grab your brushes, pick your colors, and let your creativity flow.
Takeaway: Save this guide and start your first abstract painting today—you might surprise yourself with what you can create!

Leave a Reply