
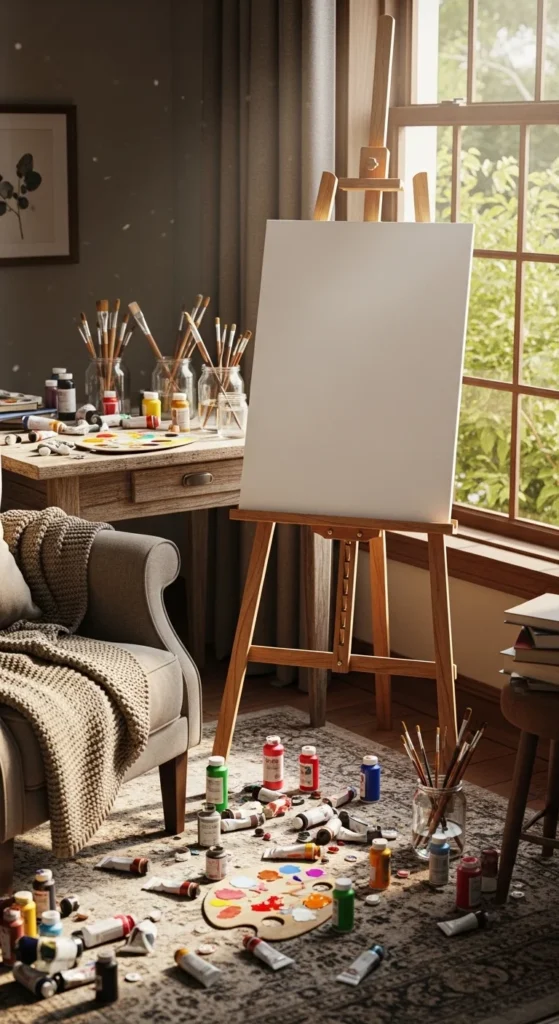
If you’ve ever walked past a gallery or scrolled through Pinterest and thought, “I wish I could make something like that,” you’re in the right place. Creating your own canvas art is easier than you think—and it’s a fun way to express yourself, even if you’ve never held a paintbrush before. Whether you want a bold abstract piece or a serene landscape, DIY canvas art is a creative outlet that anyone can enjoy.
Gather Your Supplies
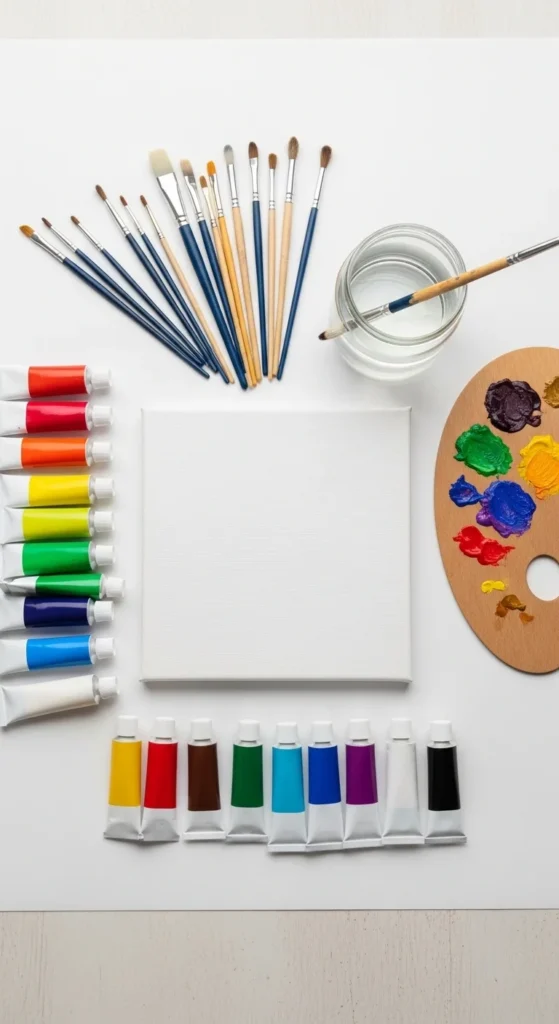
Before diving in, make sure you have all your essentials. For beginners, keep it simple. Here’s what you’ll need:
- Canvas: Start with a small or medium-sized canvas—something manageable.
- Acrylic paints: These dry fast and are beginner-friendly.
- Paintbrushes: A set with various sizes, including a flat brush and a fine detail brush.
- Palette or plate: For mixing colors.
- Water cup: To rinse brushes.
- Paper towels or cloth: For wiping brushes or accidental spills.
- Optional extras: Painter’s tape for clean edges, stencils for patterns, or sponges for texture effects.
Choose Your Design
When it comes to design, simplicity is your friend. Start with something that excites you but isn’t too complicated. Some beginner-friendly ideas include:
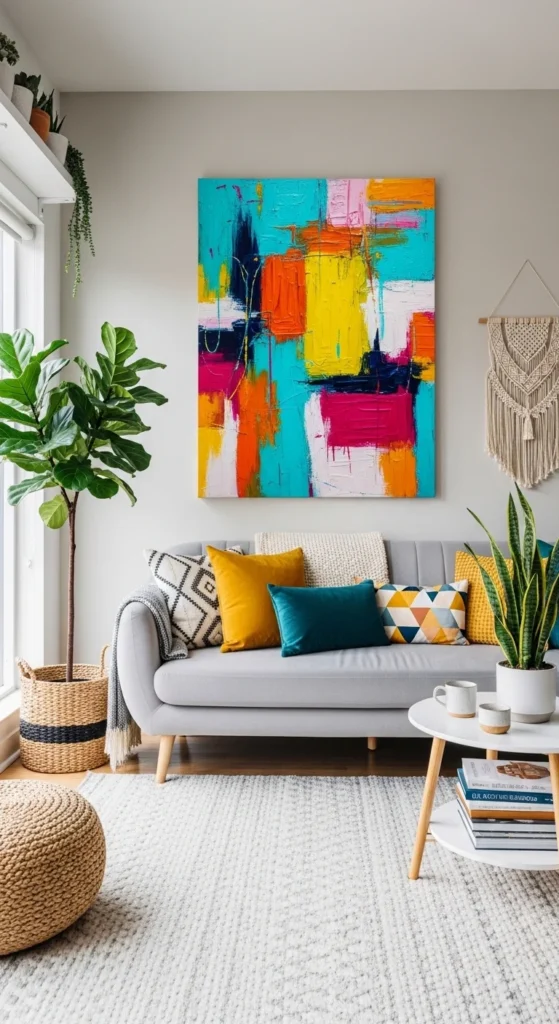
- Abstract art: Play with colors and brushstrokes. There’s no right or wrong here.
- Geometric patterns: Use painter’s tape for clean lines and shapes.
- Nature-inspired themes: Leaves, flowers, or a simple landscape.
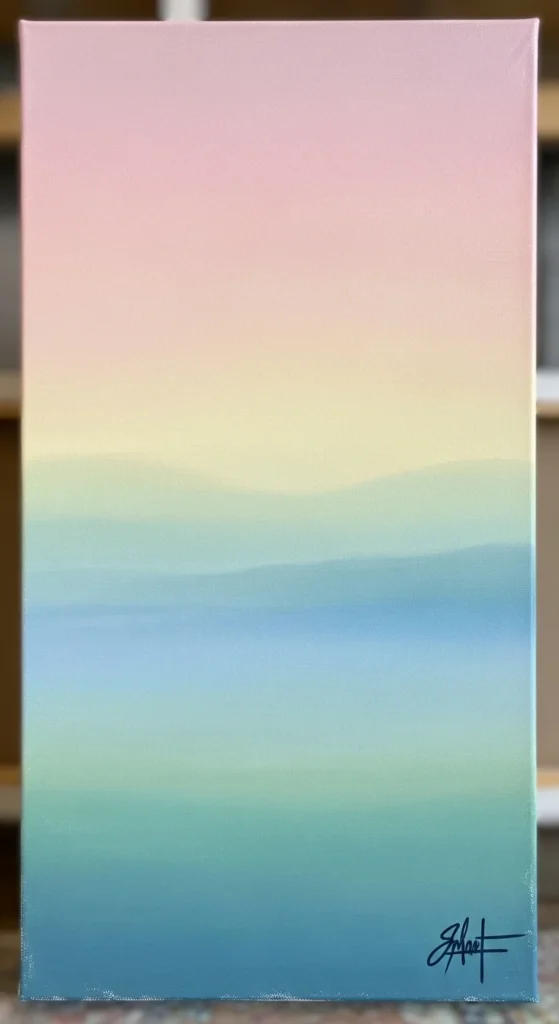
- Minimalist designs: A single object or color gradient can look elegant.
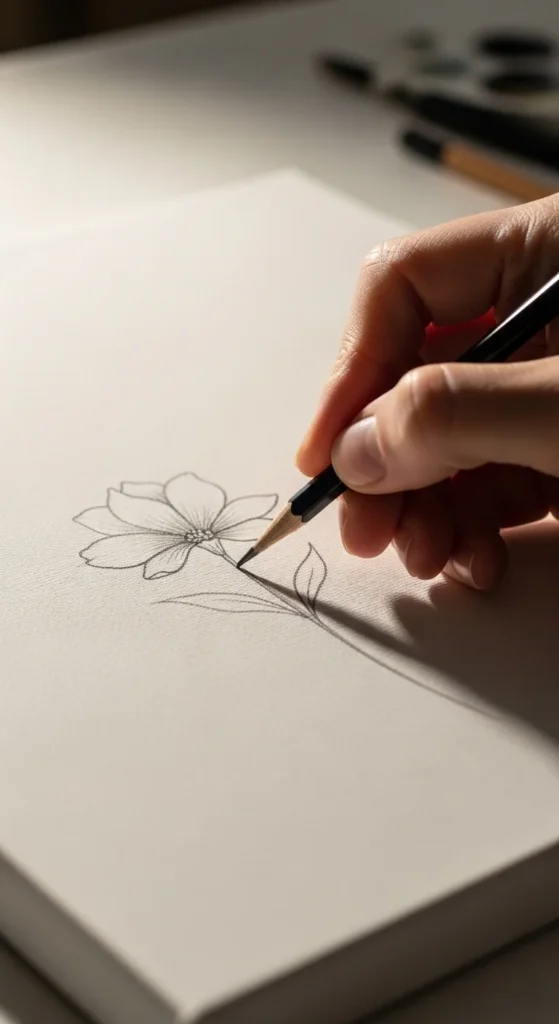
Tip: Sketch your design lightly with a pencil first if it helps guide your painting. Don’t worry about perfection—imperfections make your art unique.
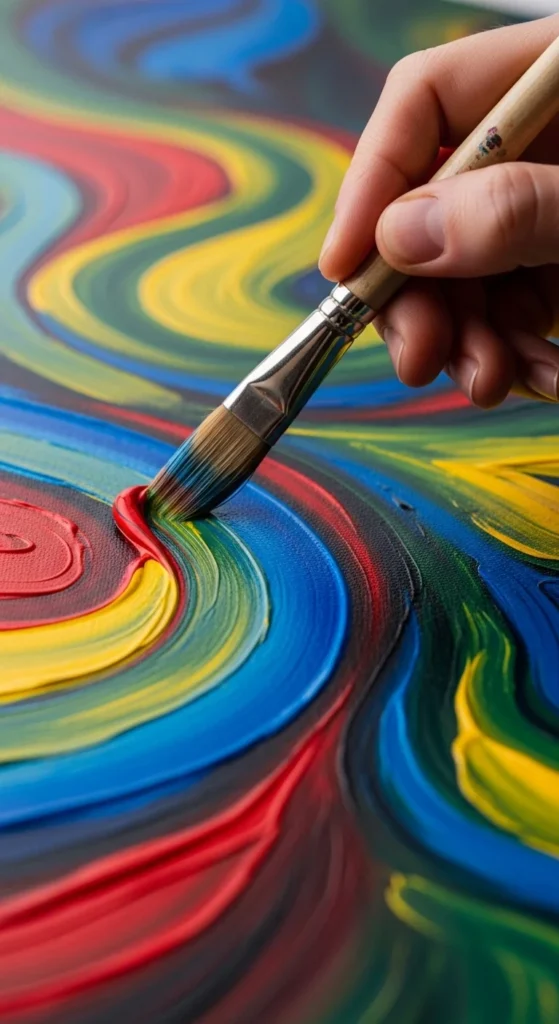
Start Painting
Now comes the fun part! Here’s how to get started step by step:
- Prep your workspace: Lay down newspaper or a plastic sheet to protect your surfaces.
- Mix your colors: Experiment on your palette to find shades you love.
- Paint in layers: Start with larger shapes and background colors, then add details on top.
- Blend carefully: Use a dry brush or sponge to soften harsh lines or create gradients.
- Step back often: Viewing your work from a distance helps you see the overall composition.
Quick tips:
- Use thin layers to avoid smudging.
- Clean brushes when switching colors.
- Let each layer dry a bit before adding new details.
Add Finishing Touches
Once your painting is mostly done, small details can take it to the next level:
- Highlights and shadows: Adding a lighter or darker shade can create depth.
- Textured effects: Dab a sponge or use a palette knife for unique textures.
- Sign your art: Even a small signature in a corner gives it a professional touch.
Remember, finishing touches are subtle—less is often more. Step back and see if the piece feels complete to you.
Display Your Artwork
The best part of DIY canvas art is seeing it on display! Here’s how to make your masterpiece shine:
- Frame it or hang it as-is: Frames can make it look polished, but a raw canvas has its charm.
- Group small canvases: Create a gallery wall with multiple pieces.
- Rotate your display: Swap out artwork seasonally for fresh vibes.
DIY canvas art doesn’t just decorate your space—it adds personality and joy to your home.
Final Thoughts
Making canvas art is all about experimenting, having fun, and expressing yourself. You don’t need fancy tools or years of experience—just curiosity and a willingness to try. Start small, embrace your creativity, and enjoy the process.
Save this guide and grab your supplies today—you’ll be amazed at what you can create!

Leave a Reply