
Looking for ways to keep your space organized without sacrificing style? DIY storage solutions are the perfect way to add personality, charm, and functionality to any room. From tiny trinkets to large household items, there’s a creative way to store everything while keeping your space Instagram-worthy.
The best part? You don’t need expensive organizers or a fancy interior designer to achieve this look. With a few simple materials, a bit of creativity, and a dash of patience, you can transform clutter into cute, functional décor.
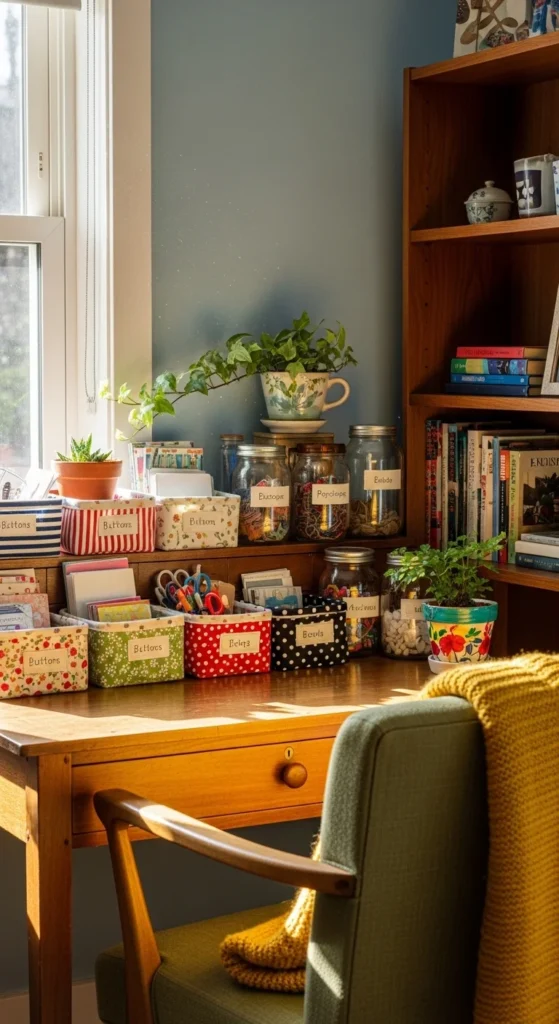
1. Transform Jars into Stylish Storage
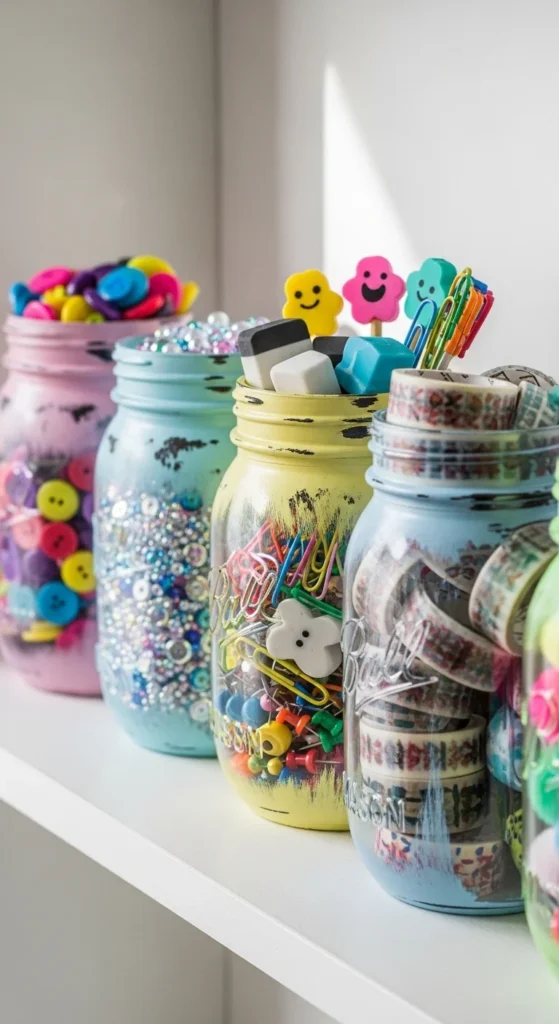
Glass jars aren’t just for storing pasta or cookies—they’re the ultimate DIY storage solution. Here’s how to give them a cute makeover:
- Materials Needed: Mason jars, paint or spray paint, washi tape, ribbon, and labels.
- Step 1: Clean the jars and remove any labels.
- Step 2: Paint the lids or the jar itself in pastel or neutral tones.
- Step 3: Wrap a strip of washi tape or tie a ribbon around the lid for extra charm.
- Step 4: Label each jar for easy access—think “buttons,” “hair ties,” or “stationery.”
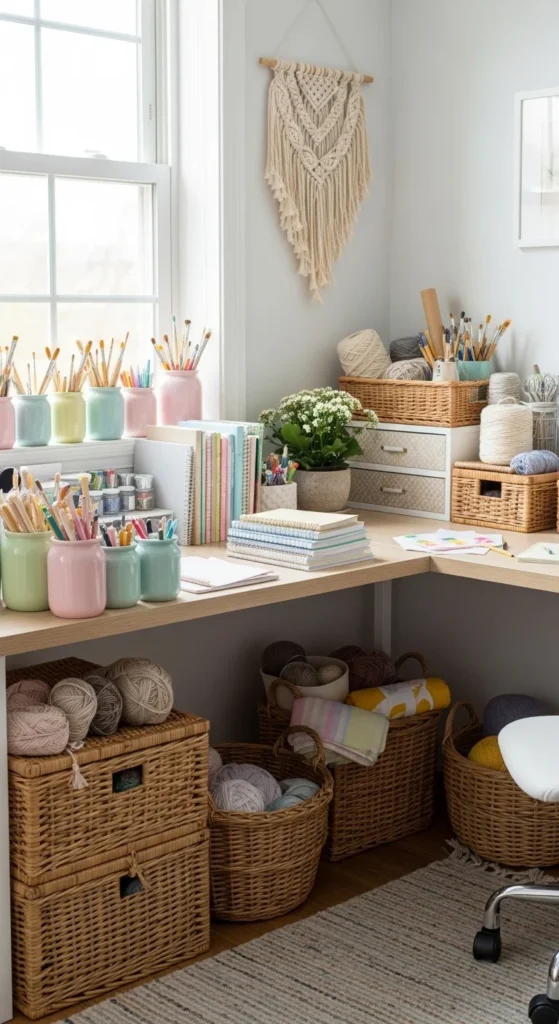
These jars work beautifully on shelves, bathroom counters, or craft rooms, adding both function and style.
2. Create Mini Baskets from Everyday Materials
Baskets are perfect for corralling smaller items, but buying new ones can be pricey. Try DIY alternatives:
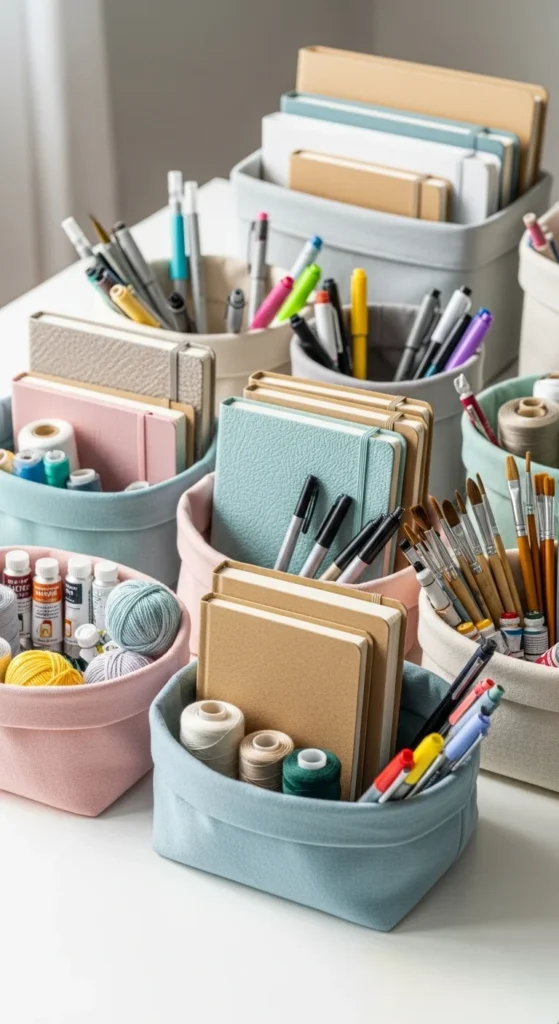
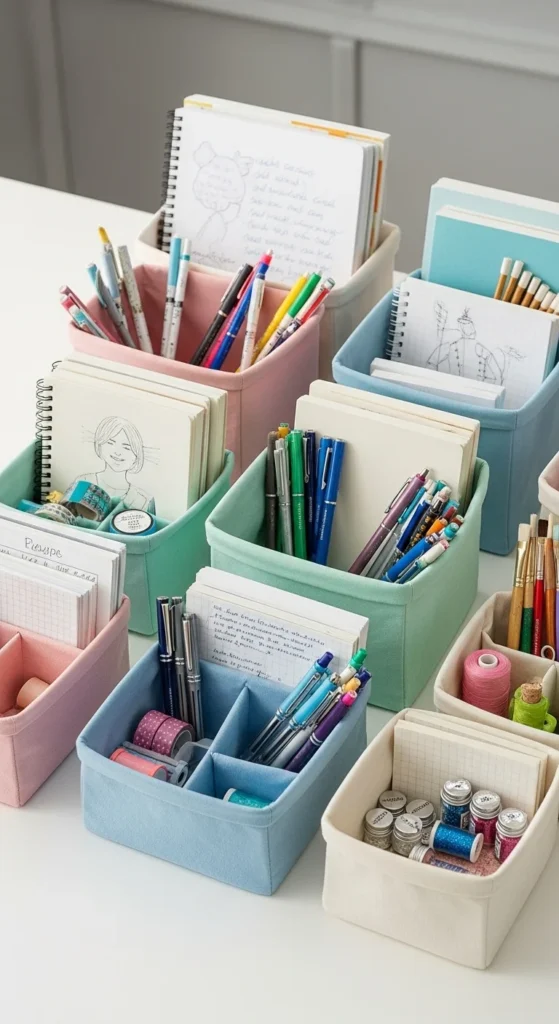
- Fabric Baskets: Use old t-shirts, pillowcases, or scraps of fabric. Fold, sew, or weave them into small containers for storing scarves, jewelry, or makeup.
- Paper Baskets: Thick craft paper or cardstock can be folded into geometric baskets. Add washi tape or paint patterns for a playful touch.
- Tin Can Holders: Empty tin cans covered in patterned paper, fabric, or ribbon make functional pen holders or mini planters.
Tip: Keep the size proportional to your space. Tiny baskets on a shelf look charming, while larger ones work best on the floor or desk.
3. Upcycle Boxes into Decorative Storage
Before tossing old shoeboxes or shipping boxes, think about how they can be turned into cute storage solutions.
- Step 1: Wrap the boxes in patterned paper, fabric, or even old wallpaper.
- Step 2: Add handles using ribbon, rope, or knobs for easy pulling.
- Step 3: Stack boxes of different sizes to create an eye-catching storage display.
These DIY boxes are perfect for under-bed storage, closets, or shelves. Plus, customizing them means they match your room’s color scheme perfectly.
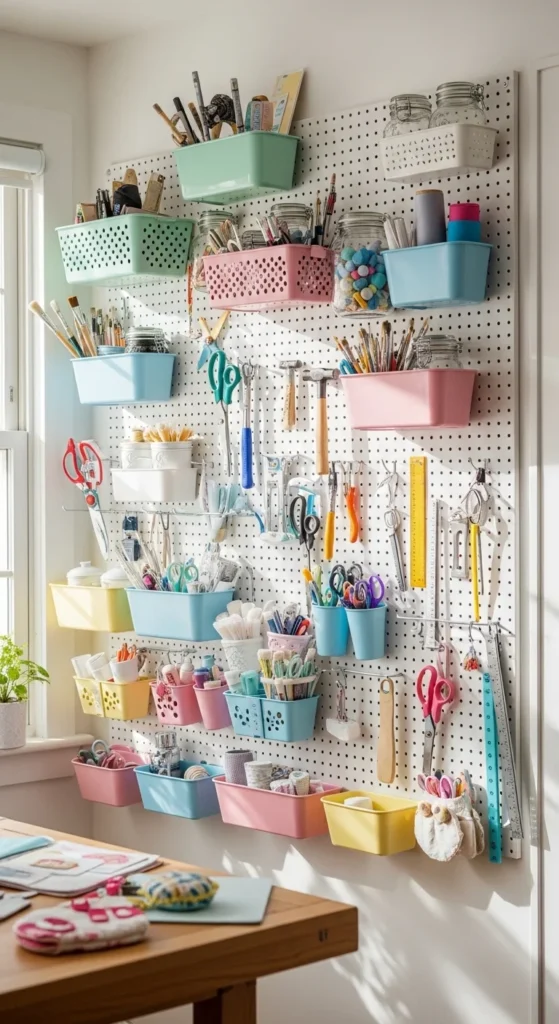
4. Hanging Storage That Saves Space
When floor space is limited, go vertical! Hanging storage keeps things accessible while adding a decorative touch.
- Pegboards: Mount a pegboard on the wall and use hooks or small baskets to store items. Great for craft rooms or kitchens.
- Wall Pockets: Sew or glue fabric pockets onto a wooden board. Ideal for mail, magazines, or small toys.
- Hanging Jars: Attach jars to a wooden plank with metal clamps and hang them on the wall. Fill with pencils, brushes, or even spices.
This approach not only looks cute but also keeps frequently used items within easy reach.
5. Label Everything With Style
No matter how cute your storage is, labeling helps you stay organized. Skip boring white stickers—try these creative ideas:
- Chalkboard labels or paint markers for a rustic vibe.
- Cute clip-on tags with handwritten names.
- Printable labels in fun fonts and soft colors.
Labels make your storage visually appealing and practical at the same time.
Final Tips for Adorable DIY Storage
- Mix Textures: Combine glass, fabric, paper, and wood for an eclectic but cohesive look.
- Stick to a Color Scheme: Pastels, neutrals, or a specific accent color will keep everything looking polished.
- Add Greenery: A small plant or dried flowers near your storage adds life and charm.
With these DIY storage ideas, organizing your space can be fun, stylish, and uniquely yours. You’ll be surprised how a few simple tweaks turn clutter into a Pinterest-worthy display.
Takeaway:
Cute, functional storage doesn’t need to be expensive or complicated. Gather your materials, get creative, and start transforming your clutter today. Your space—and your Instagram feed—will thank you!

Leave a Reply