
Crafting is not just a fun activity; it’s a fantastic way to express your creativity and unwind. Whether you’re new to the world of DIY or a seasoned crafter looking for fresh ideas, this article will guide you through easy, step-by-step instructions to create your own beautiful projects. So, grab your supplies and let’s dive into the colorful and creative world of DIY crafts!
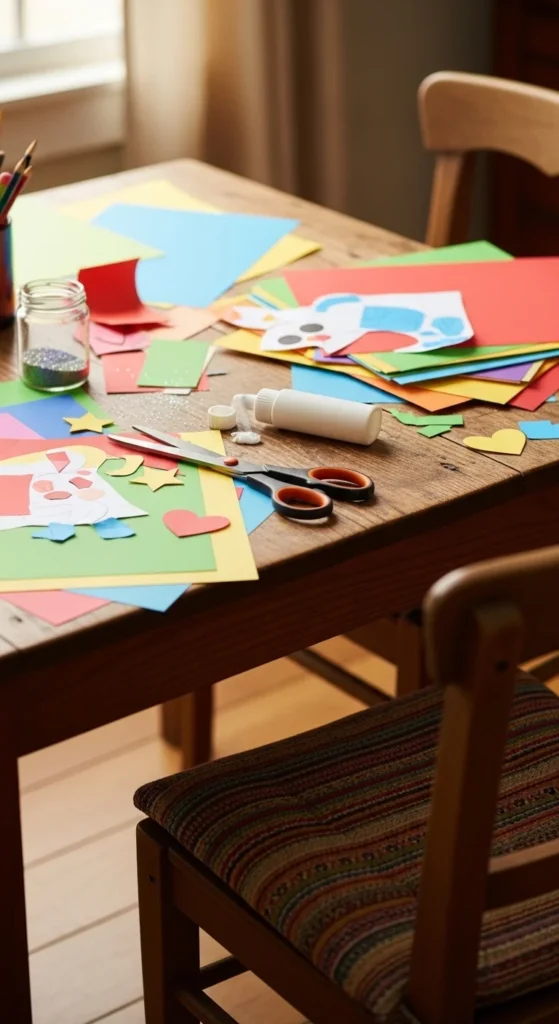
Step 1: Choose Your Craft
The first step in any DIY project is deciding what to make. DIY crafts can range from simple paper crafts to more advanced home decor items. Here are a few fun ideas to get you started:
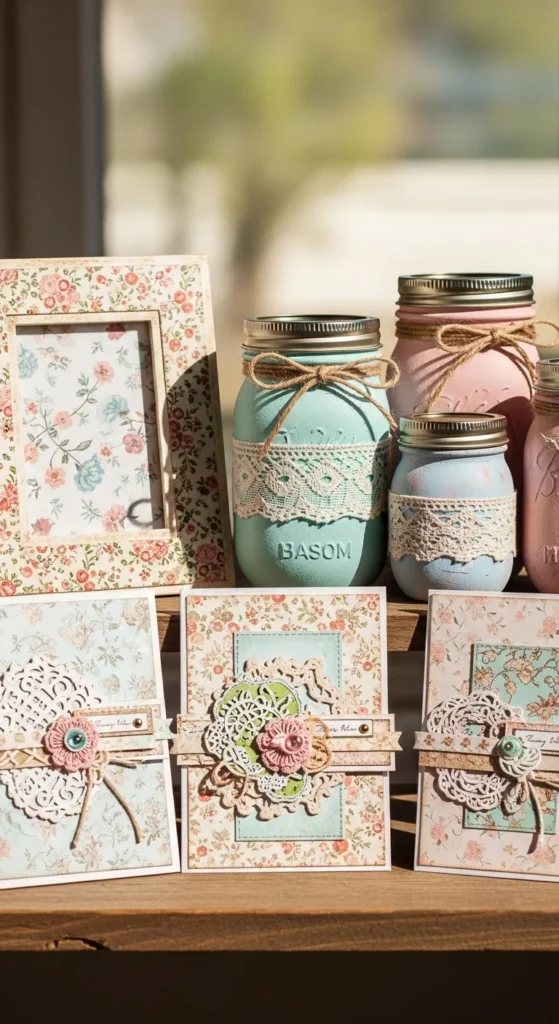
- Handmade Greeting Cards: Perfect for birthdays, holidays, or special occasions.
- Decorative Mason Jars: Turn empty jars into stylish storage or vases.
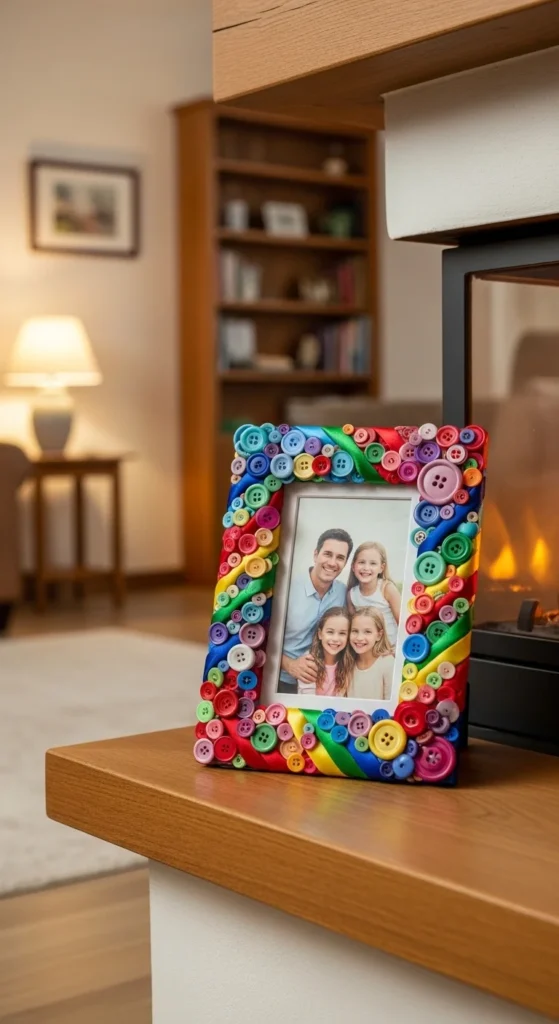
- Personalized Picture Frames: A great way to display family photos with a personal touch.
- Wall Art: Create your own canvas prints or framed artwork.
Pick a project that suits your time, skill level, and available materials. Once you’ve chosen, gather all the necessary supplies before moving forward.
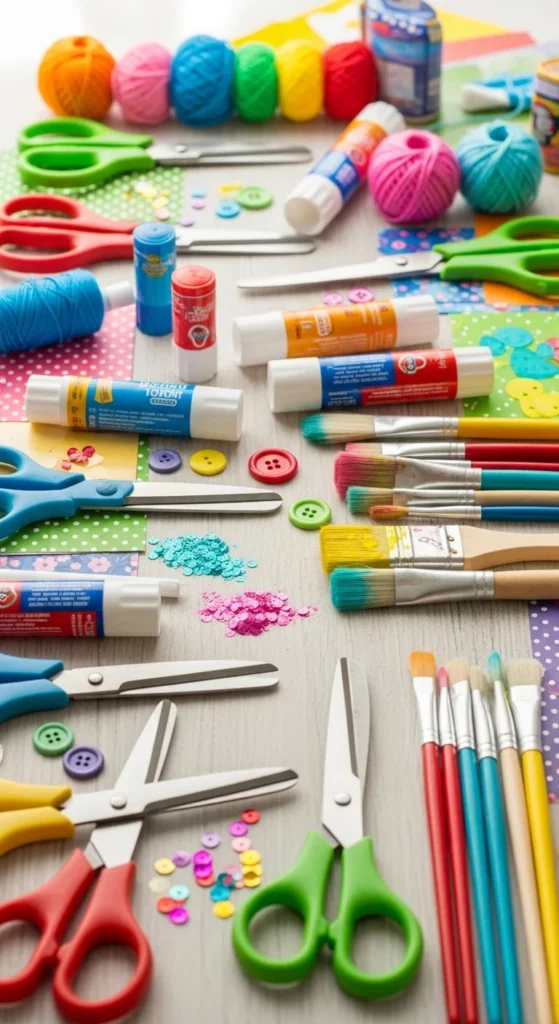
Step 2: Gather Your Materials
The materials needed will vary based on your chosen craft, but most DIY crafts require basic items such as:
- Scissors
- Glue or hot glue gun
- Paints or markers
- Paper, fabric, or cardstock
- Brushes, stencils, or stamps (if needed)
Make sure you have everything before you start. Running out of supplies mid-craft can be frustrating!
Step 3: Follow the Step-by-Step Instructions
Now comes the fun part: creating! Let’s walk through an example of a simple project—making a decorative picture frame.
DIY Decorative Picture Frame
- Prepare Your Frame:
- Choose a wooden or cardboard frame.
- If you’re using a plain frame, consider painting it in your favorite color. Allow it to dry completely.
- Add Personal Touches:
- Use embellishments like buttons, ribbons, or decorative stickers to make your frame unique. Attach them with glue.
- Insert a Picture:
- Once your frame is dry and decorated, carefully add a photo or a picture that brings back happy memories.
- Finish with a Protective Coat:
- If you want your frame to last longer, consider adding a layer of clear acrylic spray for protection.
This simple craft is a great way to personalize your space or make thoughtful gifts!
Step 4: Experiment with Different Techniques
Once you’re comfortable with basic DIY projects, feel free to experiment with more advanced techniques! For example:
- Decoupage: Use mod podge or a similar adhesive to decorate items with paper cutouts.
- Embossing: Create raised designs on cards or tags using embossing powders and a heat tool.
- Sewing and Fabric Crafts: If you’re into sewing, try making pillows, bags, or even small quilts.
Don’t be afraid to mix and match techniques! The more you experiment, the more creative your projects will become.
Step 5: Share and Display Your Crafts
After you’ve finished your craft, it’s time to share it with the world! Whether you display your new handmade items around your home or gift them to a loved one, the joy of crafting is doubled when you can show off your work.
Here are a few ways to display your creations:
- Create a Craft Corner: Display your favorite DIY crafts on a shelf or in a dedicated corner of your home.
- Give Them as Gifts: Handmade gifts are personal and meaningful, making them the perfect gesture for birthdays or holidays.
- Sell Your Crafts: If you’re passionate about crafting, consider selling your handmade items at local craft fairs or on platforms like Etsy.
Step 6: Tips for Crafting Success
- Start Simple: Don’t worry about making something complex right away. Simple crafts are just as fun and rewarding.
- Use What You Have: Repurpose old materials like cardboard, fabric scraps, or buttons from old clothes.
- Stay Organized: Keep your supplies in one place to avoid clutter and make the crafting process smoother.
Takeaway
DIY crafts are a wonderful way to relax, create, and personalize your space. Whether you’re crafting for fun, gifting handmade items, or selling your creations, the possibilities are endless. So, gather your supplies and dive into the world of crafting today!
Don’t forget to save your favorite ideas for later and share your projects with friends—happy crafting!

Leave a Reply