
Creating your own art decor can transform a space, adding personality and a touch of uniqueness. Whether you’re a seasoned crafter or just getting started, making your own art pieces can be fun, rewarding, and a perfect way to express your creativity. In this guide, we’ll walk you through some simple, beginner-friendly steps to create stunning DIY art decor that will elevate any room in your home.
Step 1: Choose Your Materials
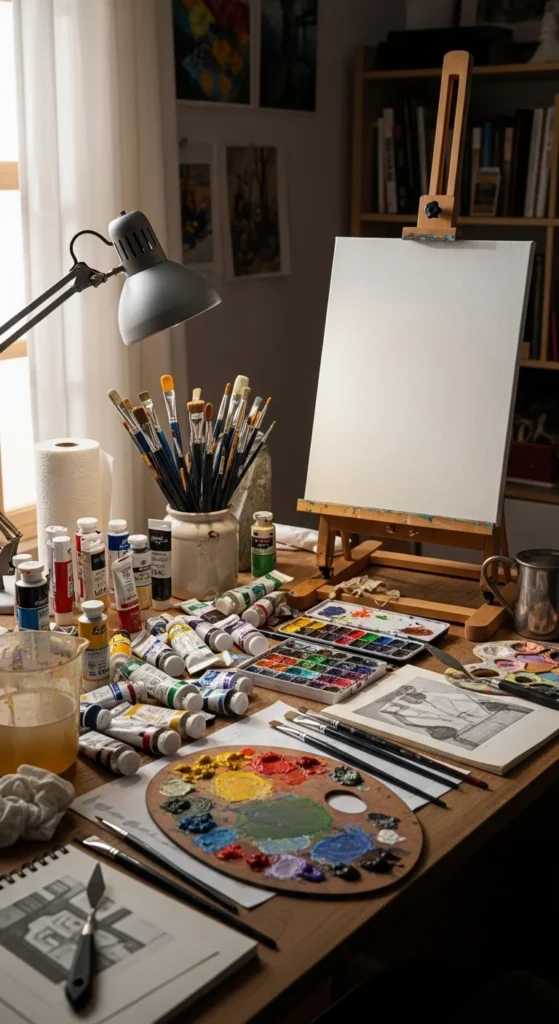
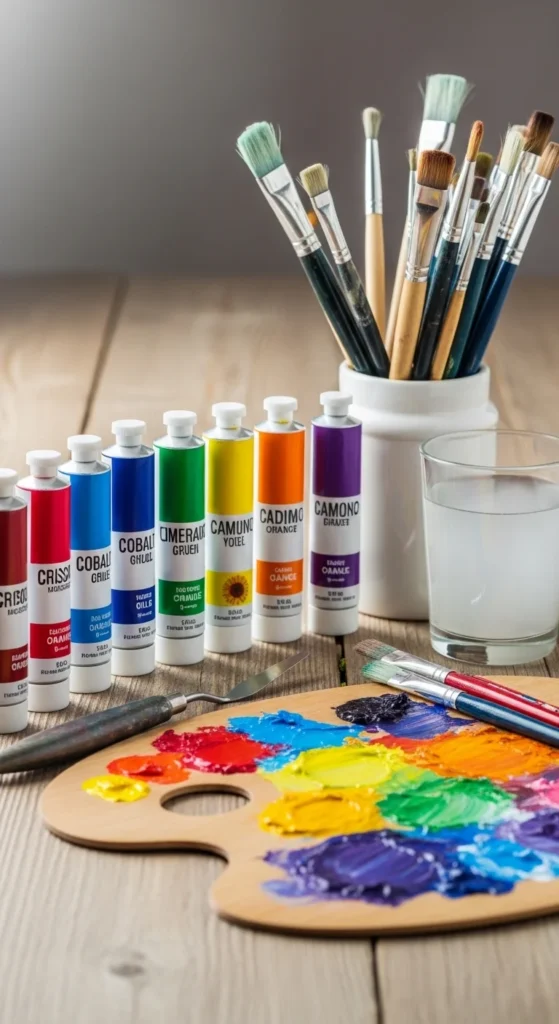
Before you begin, gather the necessary materials. Don’t worry—creating art decor doesn’t require fancy supplies. Here’s what you’ll need to get started:
- Canvas or wooden panels (depending on your preference)
- Paint (acrylics work well, but any type you prefer will do)
- Brushes of various sizes
- Tape (for geometric designs or clean lines)
- Stencils (optional, for precise shapes)
- Decorative elements like beads, fabric, or yarn (optional for texture)
Step 2: Select a Design Idea
The design you choose can be as simple or as intricate as you want it to be. Here are a few design ideas that work great for beginners:
- Abstract Patterns: Use bold colors and brushstrokes to create a dynamic abstract piece. You don’t need to worry about symmetry or perfection here—just let your creativity flow.
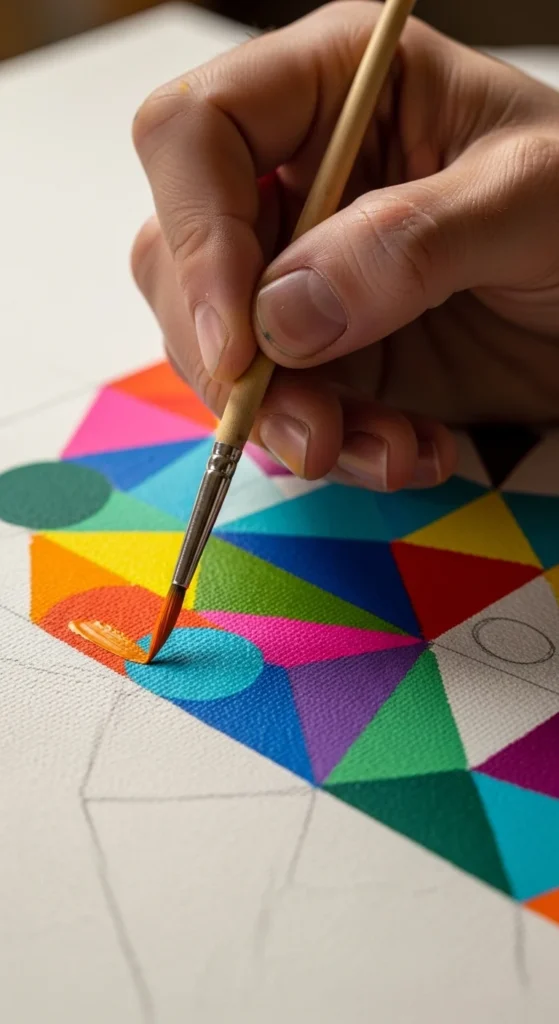
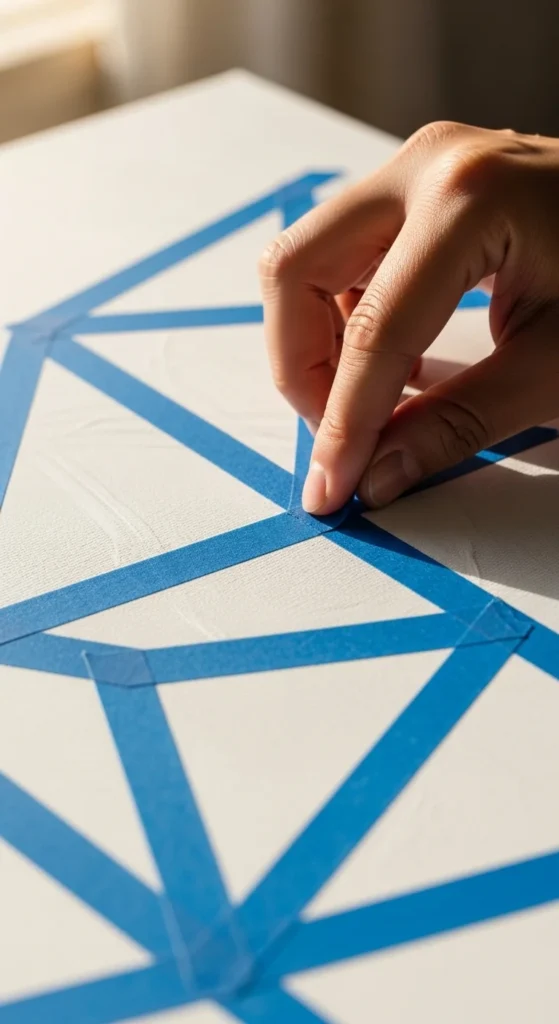
- Geometric Shapes: Use painter’s tape to create clean lines and shapes. You can paint inside the tape lines for a modern, minimalist look.
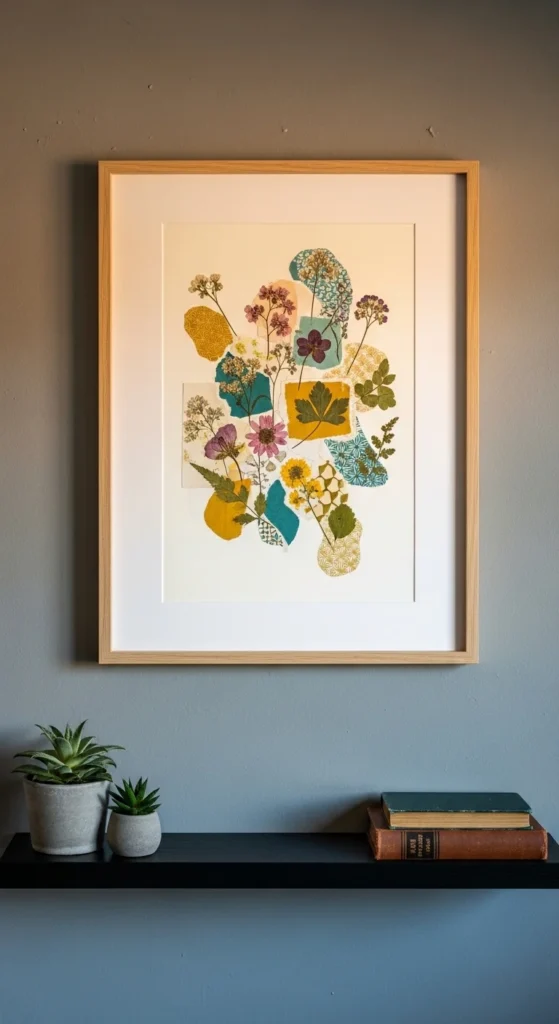
- Nature-Inspired Art: Draw inspiration from flowers, leaves, or landscapes. You can either paint freehand or use stencils for more precise designs.
- Quote Art: Pick your favorite motivational quote and hand-paint the words onto a canvas, adding some artistic flair with colors or floral designs.
Step 3: Prepare the Surface
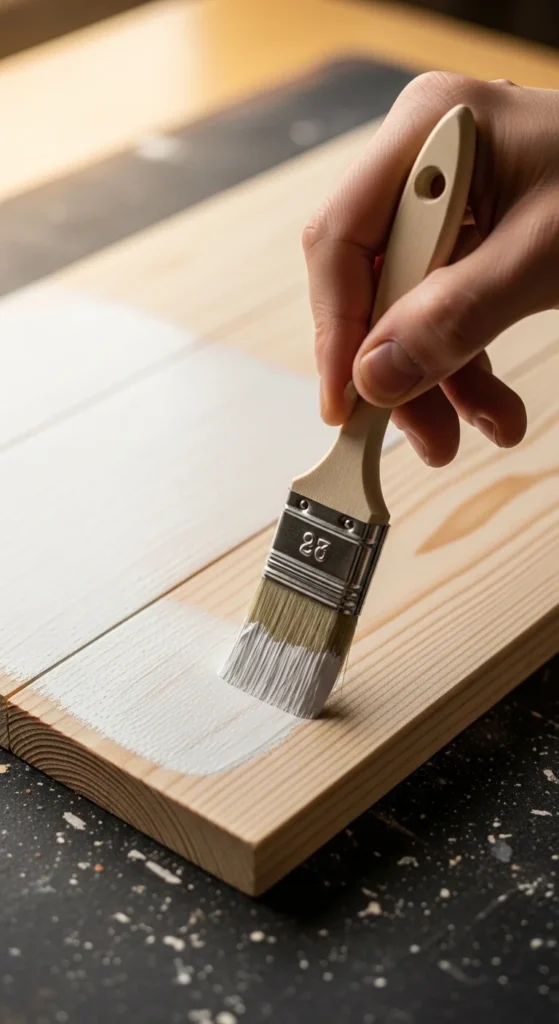
Once you have your materials and design ready, it’s time to prepare your surface. Whether you’re using a canvas or wood, make sure it’s clean and ready for paint. If you’re using a wooden panel, lightly sand the surface to ensure the paint adheres well.
For a smooth finish, apply a base coat of white paint. This step helps the colors pop and gives your design a fresh, clean background.
Step 4: Create Your Design
Start bringing your design to life! Here are a few helpful tips for each type of design:
- Abstract Art: Experiment with color mixing and layering. Don’t be afraid to let the paint blend into each other for a beautiful, textured effect.
- Geometric Designs: Use painter’s tape to create sharp, straight lines. Make sure the tape is well-pressed down so the paint doesn’t bleed underneath. You can layer different colors for a striking contrast.
- Nature Art: Use smaller brushes for detail work like leaves or petals. If you want to add texture, use a sponge to lightly dab on paint or add beads for dimension.
- Quote Art: Use a pencil to lightly sketch the words onto your canvas before painting them in. For a unique touch, try adding some hand-painted flourishes or decorative elements around the text.
Step 5: Add Finishing Touches
After your main design is complete, let the paint dry before adding finishing touches. You can:
- Add texture: Glue fabric, beads, or small buttons onto the canvas for a 3D effect.
- Frame your artwork: A simple frame can elevate your DIY art and make it look more polished.
- Personalize it: If you’re adding a quote, consider using gold or silver paint for a touch of elegance.
Conclusion: Your Personalized Art Decor
Creating your own DIY art decor is an enjoyable and simple way to add a personal touch to your space. Whether you go for an abstract design, a quote, or something nature-inspired, the possibilities are endless! Plus, making your own art can be a fun activity to do alone or with family and friends.
So why not grab your supplies and start crafting? Your home deserves a touch of art that’s uniquely yours!
Save this guide for later, and share it with your friends who love DIY projects!

Leave a Reply