
Paper crafts are one of those rare hobbies that feel both nostalgic and endlessly creative. With just a few simple supplies, you can turn flat sheets of paper into decorations, gifts, and keepsakes that feel personal and handmade. Whether you’re crafting with kids, decorating on a budget, or just craving a relaxing creative break, DIY paper crafts are a perfect place to start.
The best part? You don’t need fancy tools or years of experience. This step-by-step guide walks you through everything you need to know, from choosing materials to finishing your first projects with confidence.
Why DIY Paper Crafts Are Perfect for Beginners
Paper crafting is beginner-friendly for a reason. It’s affordable, forgiving, and incredibly versatile.
Here’s why so many people love starting with paper:
- Low cost: Most supplies are already at home
- Easy to fix mistakes: A new sheet solves almost anything
- Endless styles: Minimal, colorful, elegant, or playful
- Quick results: Many projects finish in under an hour
Paper crafts also help improve focus and creativity. The simple act of cutting, folding, and assembling can feel calming after a long day.
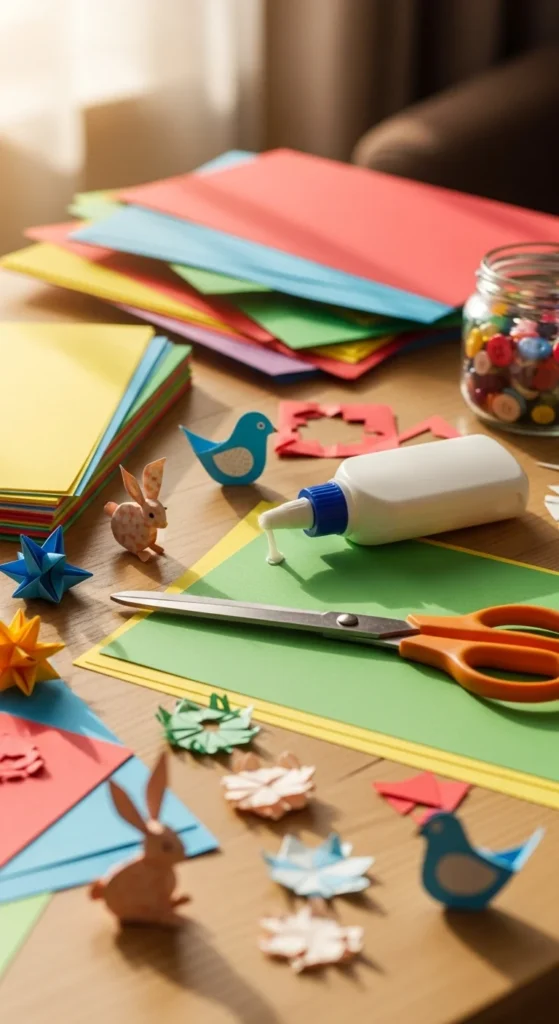
Essential Supplies You’ll Need
Before you begin, gather a small kit of basics. You don’t need everything at once—start simple and add as you go.
Basic supplies:
- Craft paper or cardstock
- Scissors (sharp, comfortable grip)
- Glue stick or liquid craft glue
- Pencil and eraser
- Ruler
Optional but helpful:
- Double-sided tape
- Hole punch
- Markers or colored pencils
- Decorative paper scraps

Tip: Thicker paper works better for structured crafts, while lighter paper is ideal for folding and layering.
Step-by-Step Basics of Paper Crafting
Once your supplies are ready, it’s time to start crafting. These core steps apply to most paper projects.
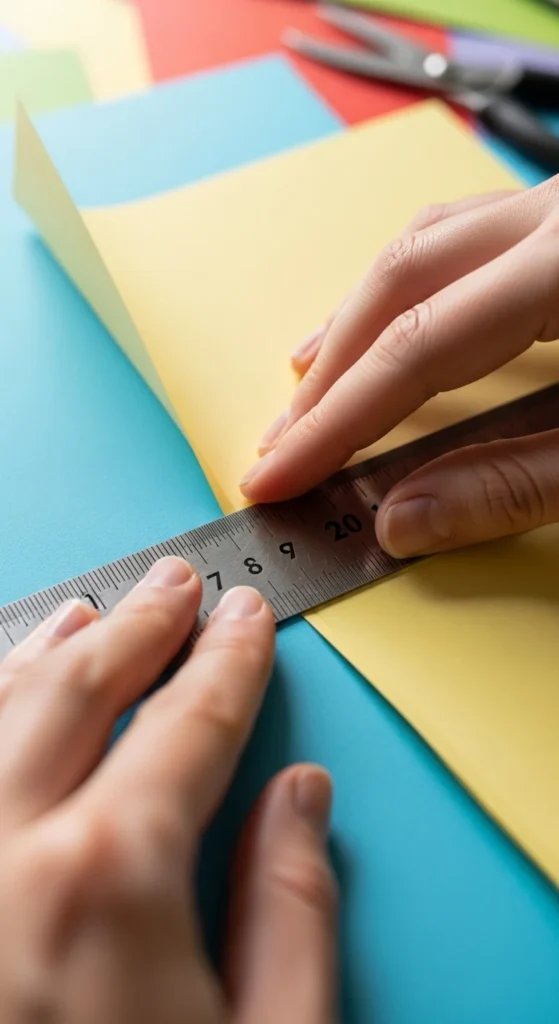
1. Measure and Plan
Always measure before cutting. Light pencil marks help guide you and prevent wasted paper.
2. Cut with Care
Use slow, steady movements. For curves, rotate the paper instead of the scissors.
3. Fold Cleanly
Use a ruler edge or fingernail to press folds sharply. Crisp folds make a big difference.
4. Assemble in Stages
Glue small sections at a time. Let each part set before moving on.
Small breaks between steps help avoid rushed mistakes and messy glue spots.
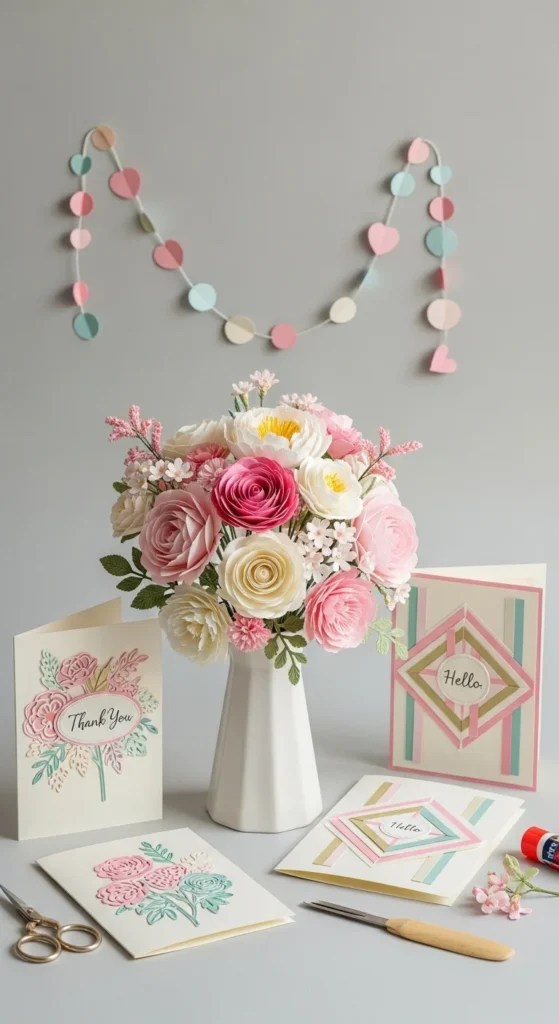
Easy Paper Craft Ideas to Try First
Starting simple builds confidence fast. These beginner projects use basic techniques and deliver satisfying results.
Great starter ideas:
- Paper flowers for vases or wall décor
- Handmade greeting cards
- Paper garlands for parties
- Simple origami shapes
- Gift tags and bookmarks
Once you complete one project, you’ll naturally want to experiment with colors, textures, and new designs.
Tips for Clean, Professional Results
Want your paper crafts to look polished instead of homemade? These small tips make a huge difference.
- Use less glue than you think you need
- Wipe glue tips often to avoid smudges
- Let layers dry fully before stacking
- Trim uneven edges at the end
- Match paper weight within one project
Lighting also matters. Craft near a window so you can see details clearly.
Common Mistakes and How to Avoid Them
Every beginner makes mistakes. The trick is knowing how to fix them—or prevent them next time.
Common issues:
- Rushing cuts
- Over-gluing
- Skipping measurements
- Using dull scissors
Solution? Slow down. Paper crafts reward patience more than speed.
If something goes wrong, don’t scrap the whole project. Many “mistakes” turn into creative details.
How to Store and Display Paper Crafts
Finished crafts deserve proper care, especially delicate pieces.
Storage tips:
- Keep flat items in folders or boxes
- Store 3D crafts away from moisture
- Avoid direct sunlight to prevent fading
For display, frames, shadow boxes, and simple shelves work beautifully.
Takeaway: Start Simple and Have Fun
DIY paper crafts are all about enjoying the process. You don’t need perfection—just curiosity and a willingness to try. Start with easy projects, build your skills step by step, and let your creativity lead the way.
Save this guide for later, grab some paper, and start crafting today. Your next favorite hobby might be just one fold away

Leave a Reply