
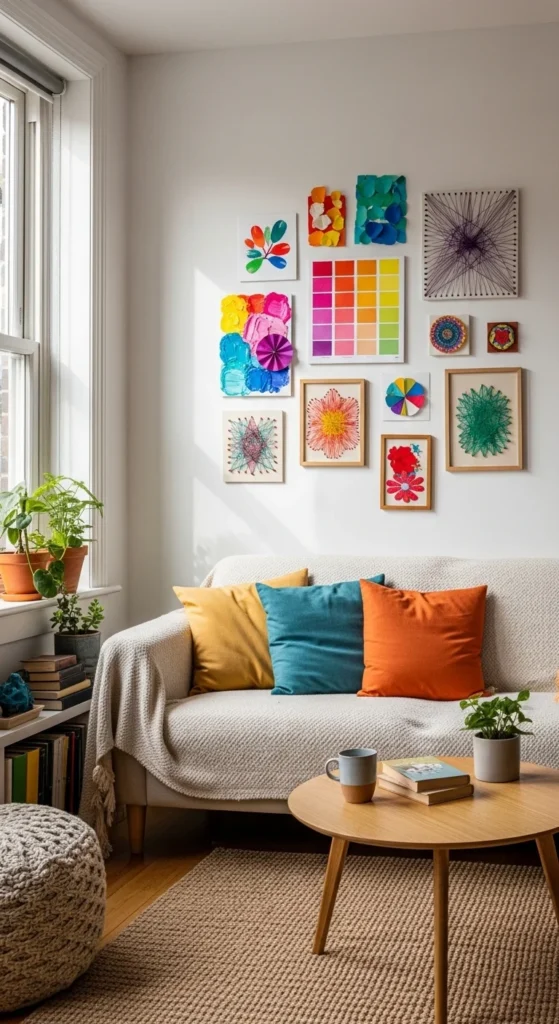
Looking to give your walls a fresh, personal touch without breaking the bank? DIY wall art is the perfect way to transform a blank space into a statement piece. The best part? You don’t need fancy supplies or professional skills—just a few simple materials and a bit of creativity. Whether you love modern minimalism or colorful, whimsical designs, there’s a project here for everyone.
Gather Your Materials
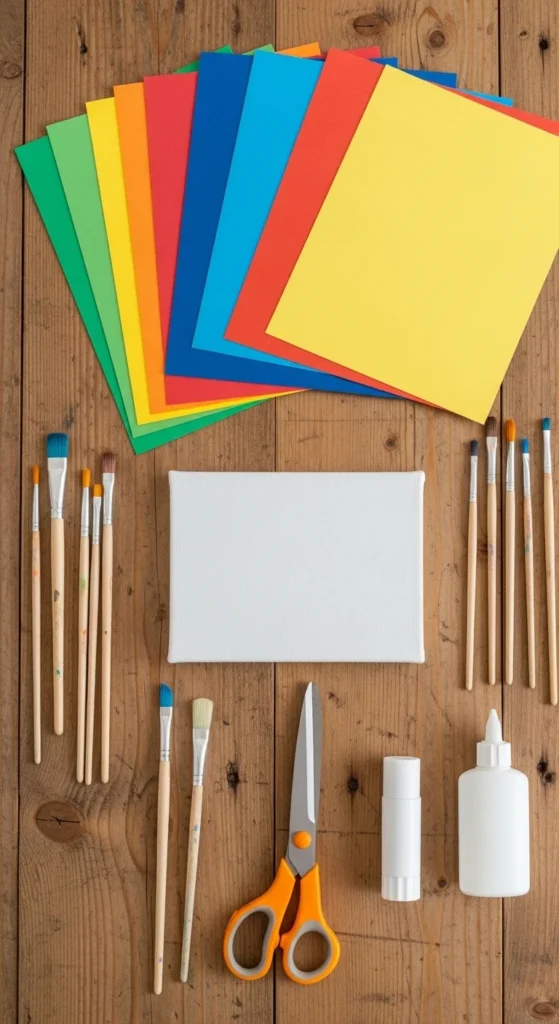
Before diving into your art project, it’s important to know what you’ll need. Most DIY wall art can be made from items you might already have at home. Here are some basics to get started:
- Paper & Cardstock: Perfect for cutouts, collages, or abstract designs.
- Acrylic Paints & Brushes: Even a small set can produce vibrant results.
- Canvas or Thick Paper: Provides a sturdy base for your creation.
- Scissors & Craft Knife: For precise shapes and details.
- Glue or Tape: Essential for layering paper or lightweight objects.
- Optional Add-ons: String, fabric scraps, dried flowers, or buttons for extra texture.
Tip: Don’t stress about buying expensive tools. Everyday household items like old magazines, cereal boxes, or leftover gift wrap can become art materials.
Choose Your Design Style
The next step is deciding what kind of wall art you want to create. Here are a few easy styles to experiment with:
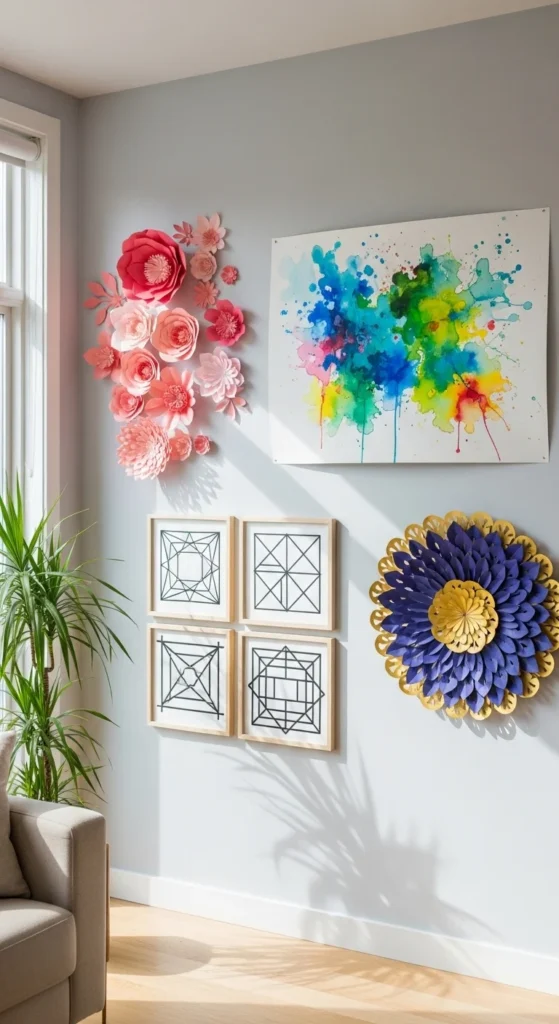
1. Minimalist Geometric Art
- Use tape to mark triangles, squares, or rectangles on your canvas.
- Paint each shape a different color for a clean, modern look.
2. Collage Wall Art
- Cut shapes, images, or patterns from magazines and arrange them on your canvas.
- Layering adds depth and creates a fun, eclectic vibe.
3. String & Thread Art
- Outline a simple shape (like a heart, star, or word) with small nails or pins.
- Wrap colorful thread or string around the nails to form the shape.
Tip: Start small. You can always make a series of mini pieces to create a gallery wall later.

Step-by-Step DIY Wall Art Ideas
Here are two simple projects to bring your ideas to life:
Project 1: Abstract Watercolor Art
- Wet your watercolor paper lightly with a brush.
- Drop in different colors and let them blend naturally.
- Once dry, frame it or mount it on colored cardstock for contrast.
Tip: Use a straw to blow the paint around for playful splatters and streaks.
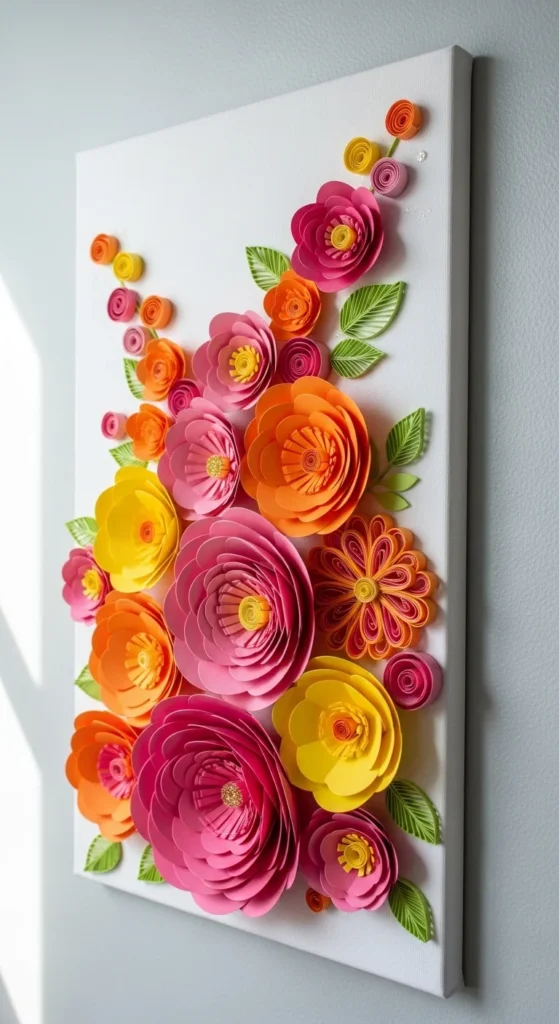
Project 2: Paper Flower Wall Hanging
- Cut flowers from colorful cardstock or scrap paper.
- Layer petals using glue to create a 3D effect.
- Attach flowers to a canvas or directly on your wall with removable adhesive.
Tip: Mixing sizes and colors gives a fuller, more dynamic arrangement.
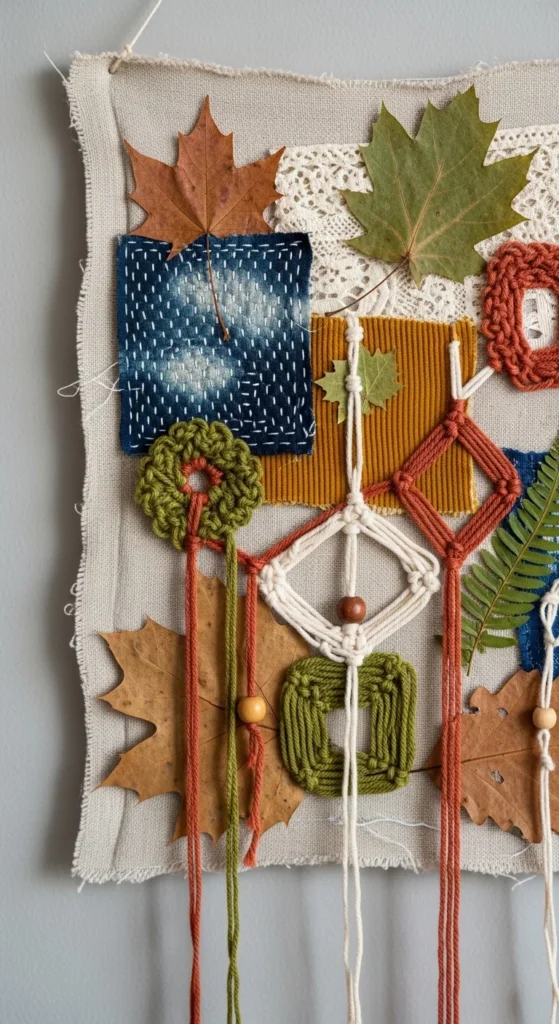
Add Texture and Personality
Texture is key to making your wall art pop. Don’t be afraid to mix materials:
- Fabric Scraps: Turn them into abstract shapes or banners.
- Twine & Yarn: Wrap around canvas edges or create hanging designs.
- Natural Elements: Pressed leaves, dried flowers, or small branches make rustic art.
Tip: Even small details like buttons, beads, or gold leaf can elevate your design and make it feel professional.
Display Your DIY Masterpiece
Once your art is ready, think about how to showcase it:
- Gallery Wall: Arrange multiple small pieces in a grid or freeform layout.
- Floating Shelves: Lean canvases of different sizes for a casual, layered look.
- Single Statement Piece: Let one bold design dominate a wall for maximum impact.
Tip: Changing frames or mats can give old art a completely new vibe.
Final Thoughts
Creating DIY wall art is not just about decoration—it’s about expressing yourself. With simple materials, a little patience, and a splash of creativity, your walls can reflect your personality and style. Experiment, mix techniques, and don’t be afraid to make mistakes—they often lead to the most unique designs.
Save this guide for later and start crafting your personalized wall art today!

Leave a Reply