
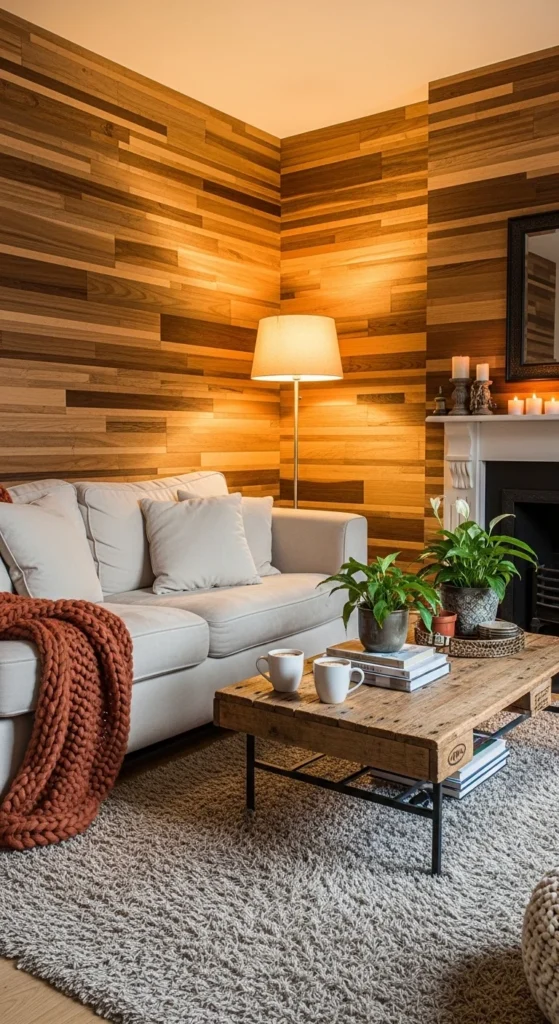
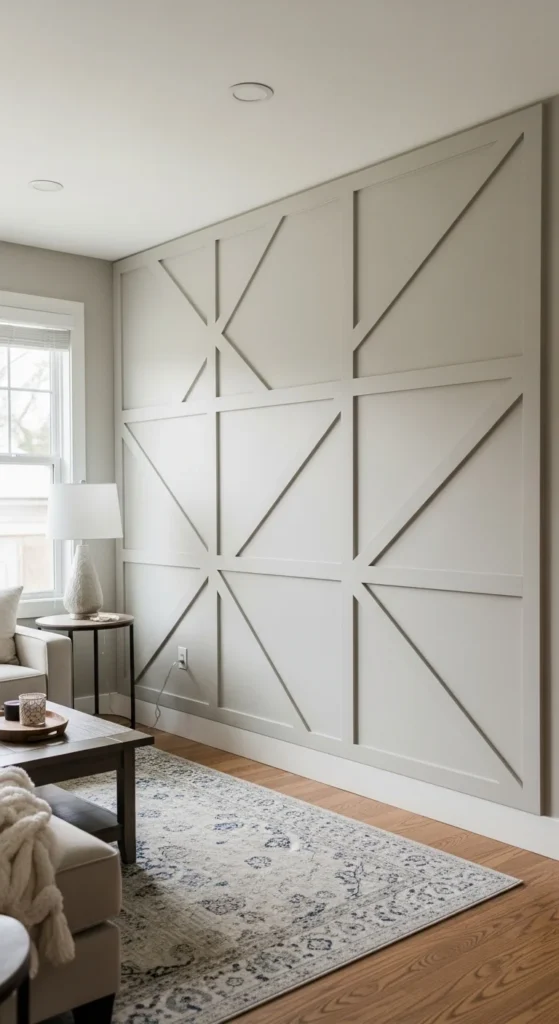
If you’re looking to upgrade your home decor without breaking the bank, DIY wall panels are a fantastic option! Not only do they add texture and sophistication to your walls, but they’re also surprisingly easy to make. Whether you’re aiming for a sleek modern look or a rustic, farmhouse vibe, these panels are versatile enough to fit any style. Let’s dive into how you can create your own custom wall panels at home!
Materials You’ll Need
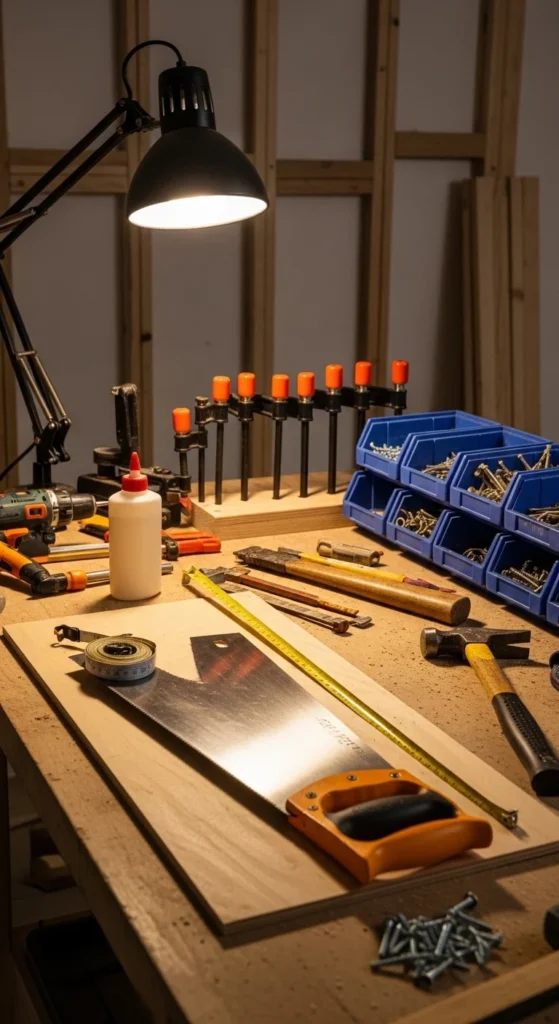
Before getting started, gather all the materials required to make your DIY wall panels. Here’s what you’ll need:
- Wooden panels or MDF boards: Depending on your design choice, you can use either thin wooden planks or MDF boards for a smooth finish.
- Measuring tape: Accurate measurements are essential for fitting the panels perfectly.
- Saw or cutting tool: To trim your panels to the desired size.
- Nails or screws: To secure the panels to the wall.
- Wood glue (optional): For extra stability in your panels.
- Primer and paint or stain: To finish the wood and add color or a natural finish.
- Level: To ensure your panels are aligned straight on the wall.
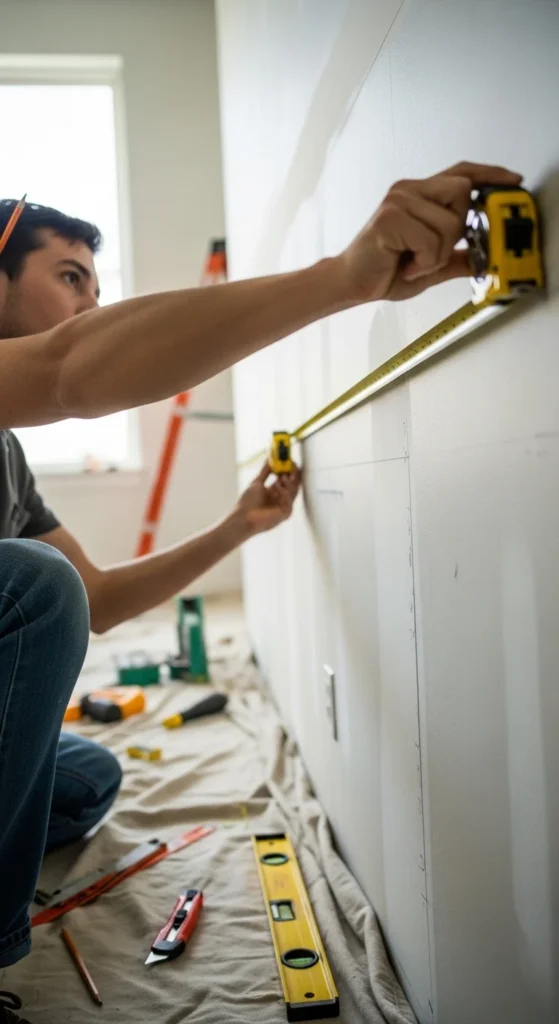
Step 1: Measure Your Wall
The first step in creating DIY wall panels is to measure your wall carefully. Use a measuring tape to measure both the width and height of the area you plan to cover. It’s important to note these dimensions down to ensure you cut the panels to the right size.
Tip: Make sure to measure twice to avoid mistakes—precision is key when cutting the panels to fit your space!
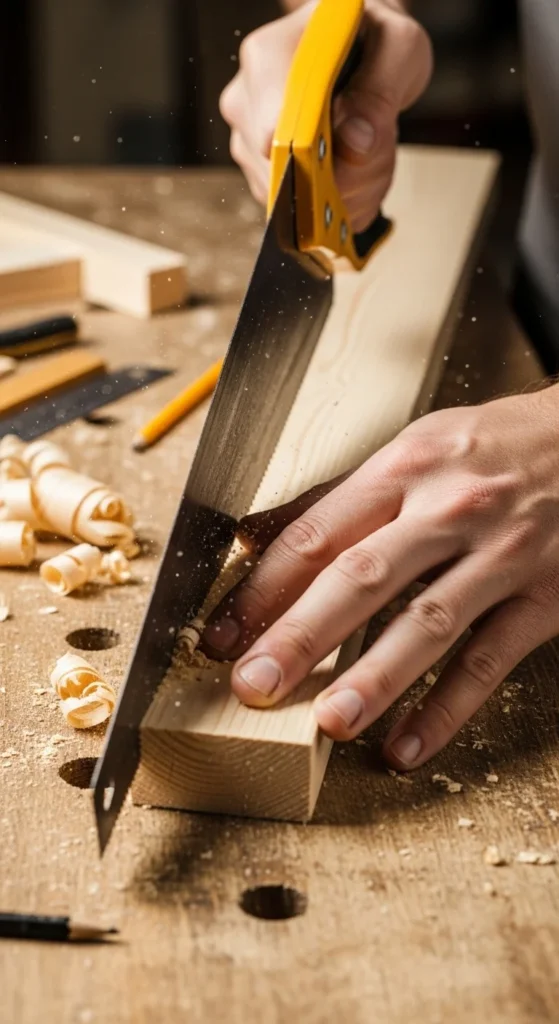
Step 2: Cut the Panels
Once you have your measurements, it’s time to cut your wooden panels or MDF boards to size. If you’re using wooden planks, you can leave them in their original size or cut them down for a more uniform look. For a more intricate design, such as a herringbone or chevron pattern, consider cutting the planks into equal-sized pieces.
Tip: If you don’t have a saw, many hardware stores offer cutting services, or you can rent a tool to do it yourself.
Step 3: Prepare the Wall
Now, prepare your wall for the installation of the panels. Make sure the wall is clean and dry before you begin. If your wall is painted, you might want to apply a coat of primer in the areas where the panels will be placed to ensure better adhesion.
Tip: If you’re installing panels on a drywall, be sure to use screws for more support, especially for heavier panels.
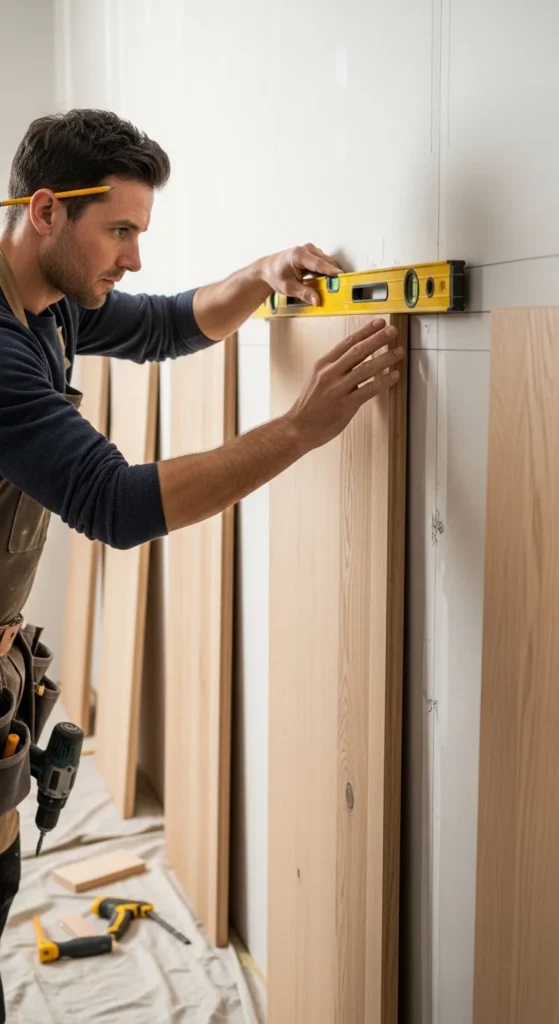
Step 4: Attach the Panels
Once your wall is prepped, it’s time to install the panels. Start by applying a thin layer of wood glue to the back of your first panel and press it firmly against the wall. For added security, use a level to make sure the panel is straight before securing it with nails or screws.
Work your way across the wall, placing the panels next to each other. If you’re using wooden planks, you may want to leave a small gap between them for a more polished look.
Tip: Use a rubber mallet to gently tap the panels into place without damaging them.
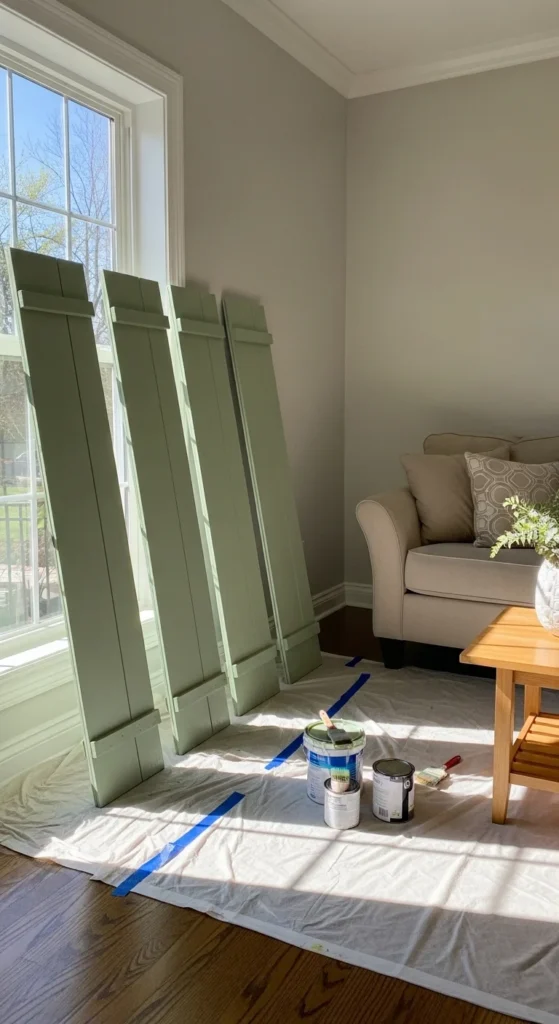
Step 5: Finish the Look
After all your panels are secured, it’s time for the finishing touch! Sand down any rough edges for a smoother finish, then apply your choice of paint or wood stain. For a modern look, consider a sleek white or gray paint finish, or for a more rustic appearance, go for a natural wood stain.
Tip: Let the paint or stain dry completely before handling the panels to avoid smudges or fingerprints.
Final Thoughts
Creating your own DIY wall panels is a rewarding project that can drastically improve the look and feel of any room. Whether you’re going for a classic or contemporary design, these panels are easy to customize to fit your aesthetic. So, gather your materials, follow the steps above, and enjoy the transformation of your home!
Don’t forget to save this guide for later and share it with friends who love DIY projects! Your home makeover awaits.

Leave a Reply