
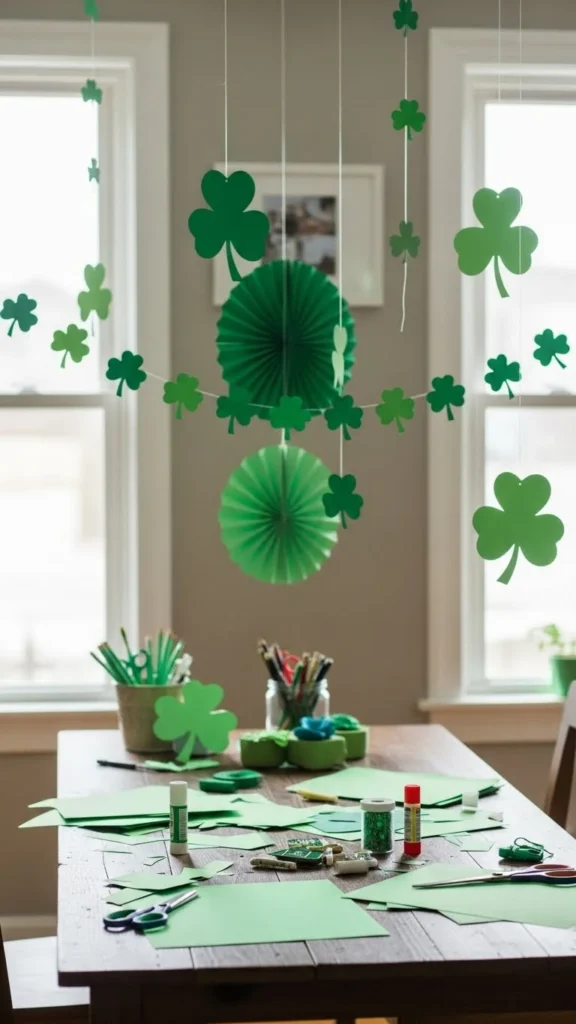
St Patrick’s Day paper decor is popular because it is affordable, simple, and easy to make at home. You do not need special tools or crafting experience. Paper projects work well for apartments, classrooms, and family homes. They store flat and take very little space. These ideas focus on quick wins using basic supplies like colored paper, glue, tape, and scissors. Each project below keeps things light, simple, and friendly for beginners.
1. Paper Shamrock Wall Cutouts
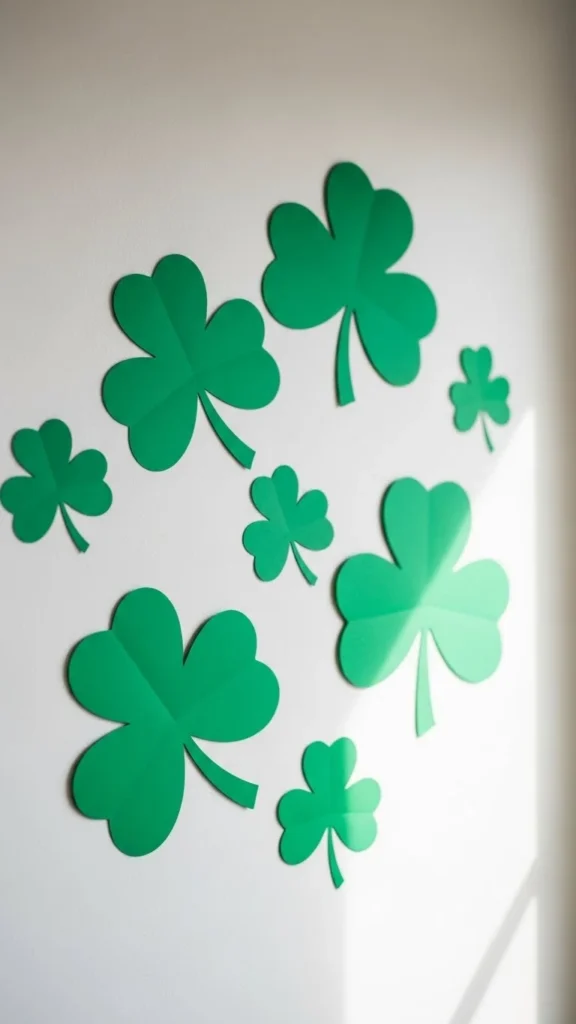
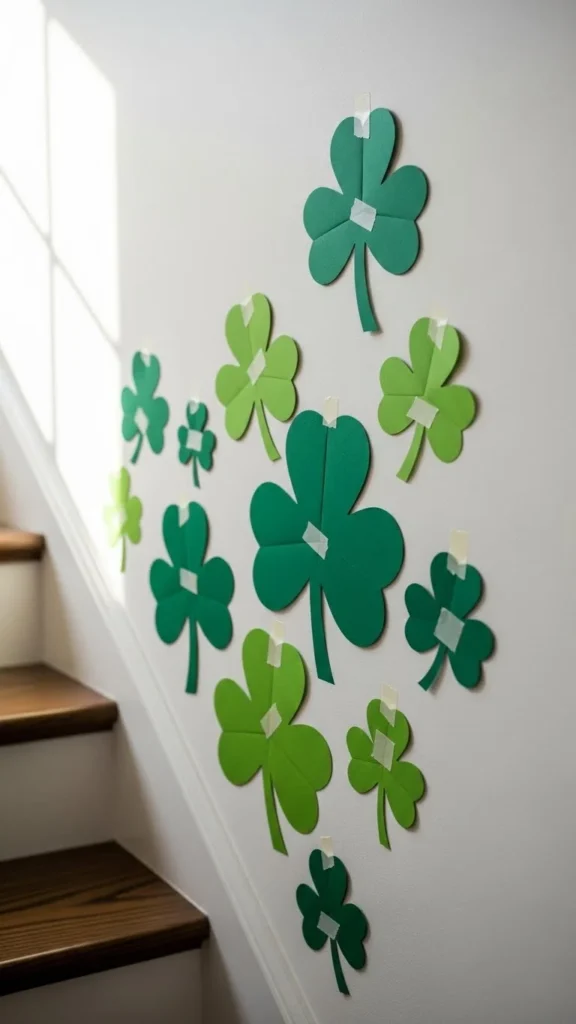
Paper shamrock wall cutouts are one of the easiest ways to decorate fast. Start with green paper or cardstock. Draw a simple three-heart clover shape. Cut several sizes so the wall looks relaxed and casual. Tape them up in clusters above a couch, desk, or entry table.
This idea works well for renters because painter’s tape comes off clean. You can also pin them to a corkboard or hang them with removable hooks. Kids can help trace and cut the shapes, which makes this a good family project.
If green paper feels limited, mix in light green and white shades. Scrapbook paper works well here. Keep spacing uneven so it feels natural. When the day is over, stack the shapes and store them flat for next year.
2. Hanging Paper Clover Garland
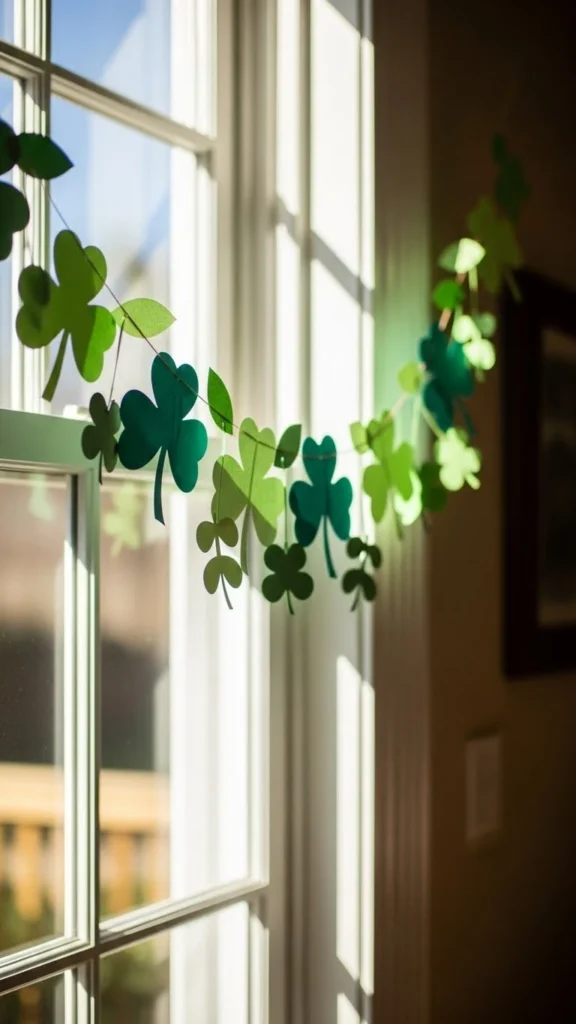
A hanging clover garland adds movement without taking much space. Cut clover shapes from paper and punch a small hole at the top of each one. String them onto twine or yarn with loose spacing.
This looks great across windows, doorways, or shelves. You can keep it short or stretch it across a wall. If you want less cutting, fold paper accordion-style and cut several shapes at once.
Use items you already have at home. Gift wrap scraps and old notebooks work fine. For storage, slide the shapes off the string and keep them in a folder. This project stays light, affordable, and reusable.
3. Folded Paper Rainbow Fans
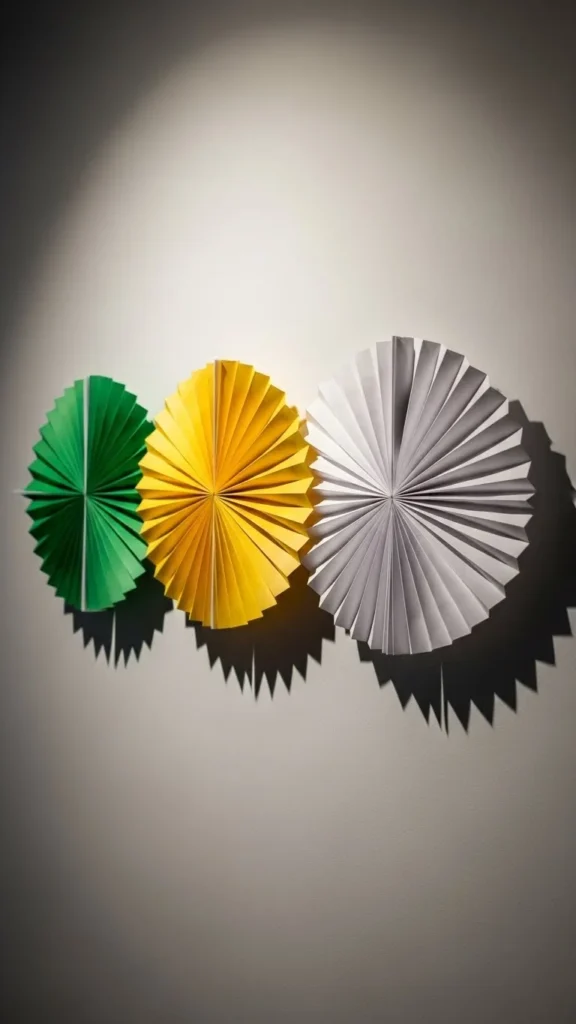
Folded paper fans add texture without clutter. Use green, yellow, and white paper to keep the look seasonal. Fold each sheet back and forth like a fan, then pinch the center and tape it.
Hang them flat on walls or prop them on shelves. Mix sizes to keep the display relaxed. These also work well as table backdrops or photo areas.
If you want a softer look, use thinner paper. For a bold look, use cardstock. When finished, fold them flat and store them in a box. This idea is easy, low-cost, and quick to repeat.
4. Paper Leprechaun Hat Cutouts
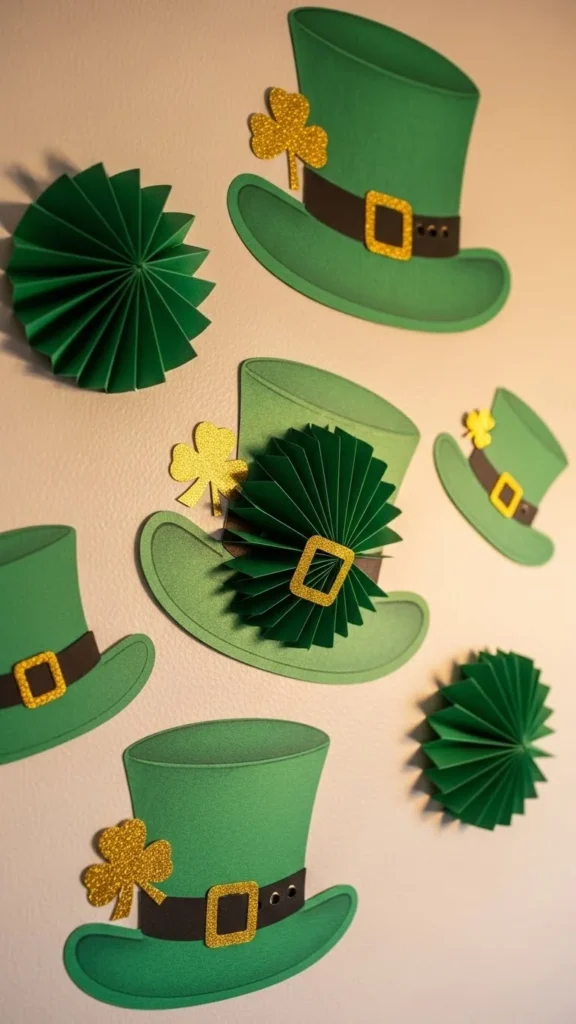
Paper leprechaun hats add a playful touch. Cut a simple hat shape from green paper. Add a black strip and a small yellow square for detail. Glue pieces together and let them dry.
Use these as wall accents, door decor, or chair back decorations. They also work well in classrooms or party areas. Keep the shapes simple so they are quick to make.
If time is short, skip details and use solid green shapes. Store them flat in an envelope after use. This project is easy to scale up or down depending on space.
5. Paper Coin Table Scatter
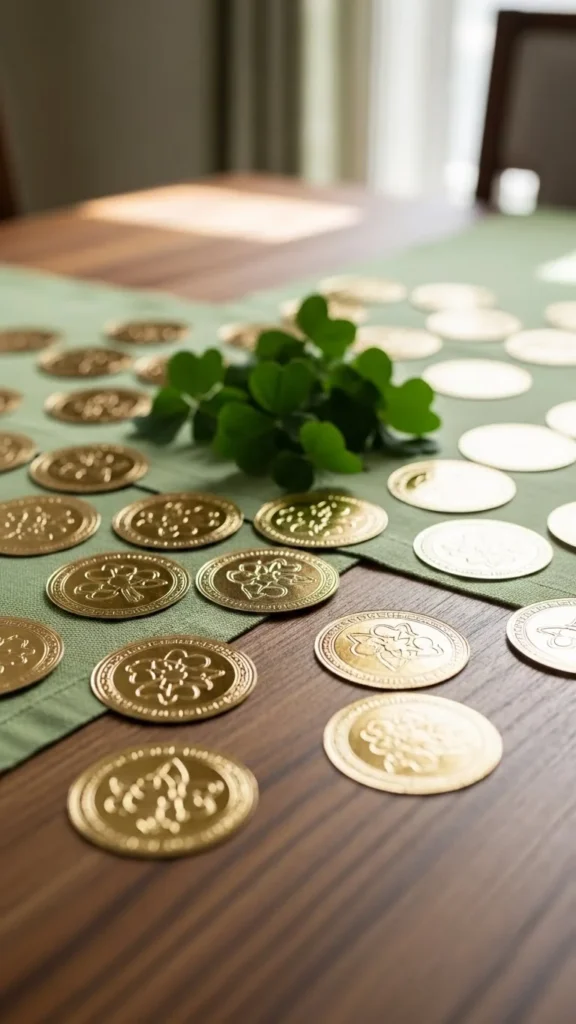
Paper coin table scatter adds color without mess. Cut circles from yellow or gold paper. Scatter them lightly across tables, shelves, or trays.
This works well for meals, crafts, or party tables. You can also tape a few coins onto napkins or placemats. Kids enjoy helping with cutting.
After the day ends, collect them into a small box. This idea costs almost nothing and uses minimal effort.
6. Paper Shamrock Window Decals
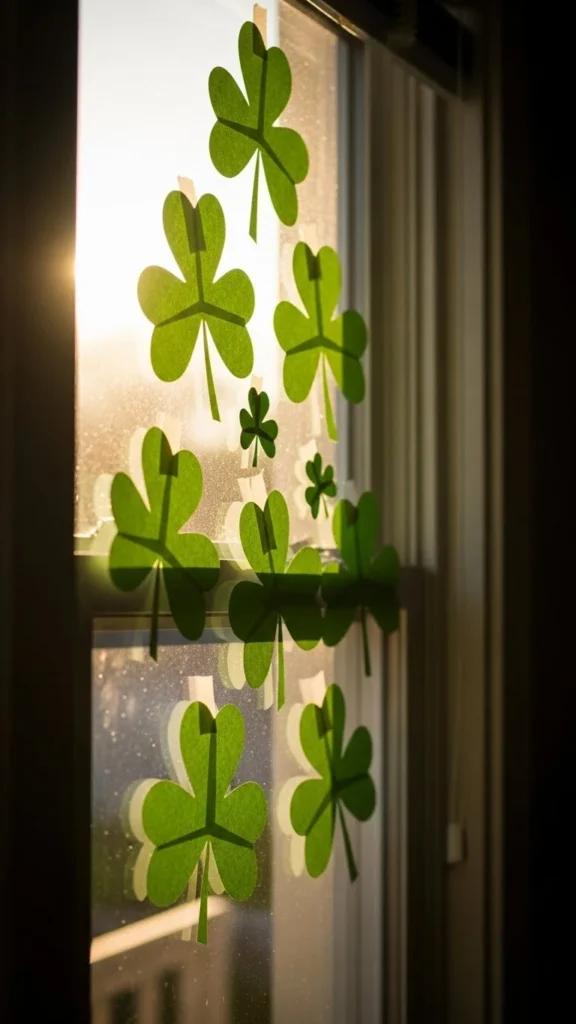
Window shamrocks bring color without blocking light. Cut shamrock shapes and tape them directly onto glass. Use clear tape for a clean look.
Place them at different heights so the display feels relaxed. This works well in kitchens and playrooms. Paper peels off easily after the holiday.
Use thin paper so light still comes through. This is a simple option for small spaces.
7. Paper Pot of Gold Silhouette
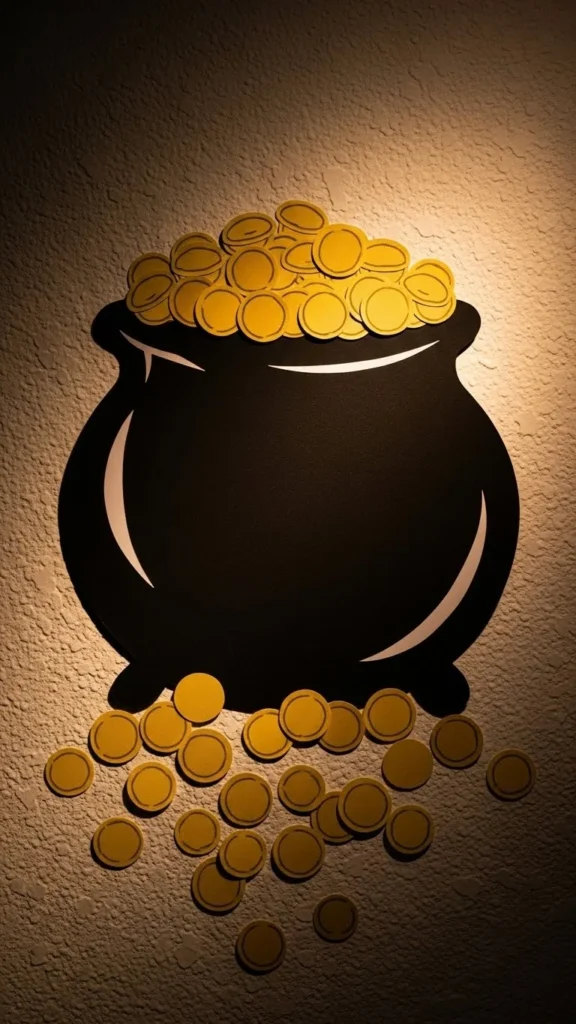
Create a pot of gold using black paper and yellow circles. Tape the pot to the wall and scatter coins above and below it.
This design works well as a focal point. Keep shapes large so they are easy to cut. No drawing skills required.
Store pieces flat after use. This setup works for homes or classrooms.
8. Paper Clover Door Decor
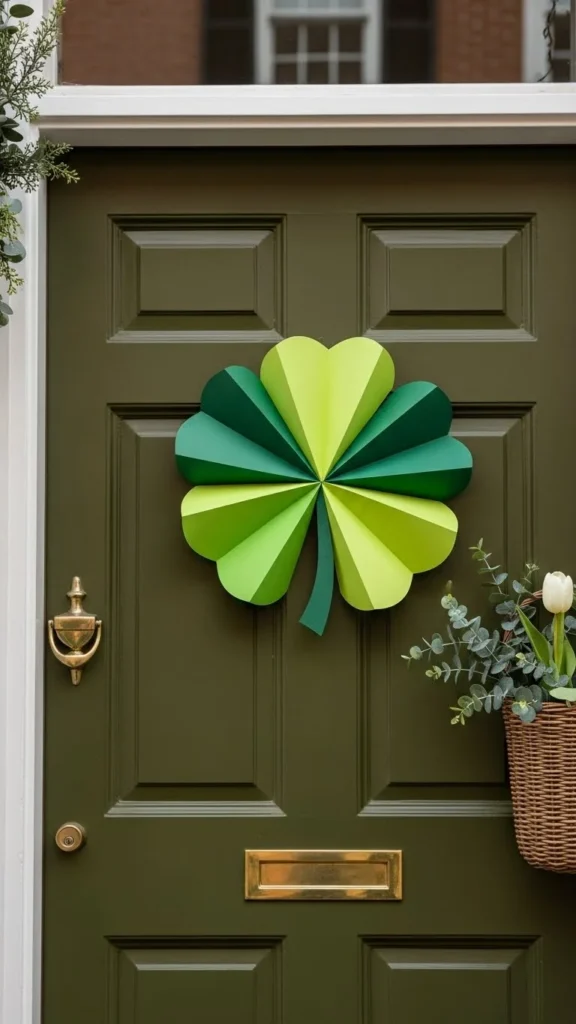
A paper clover on the door sets the tone right away. Cut one large shape from sturdy paper. Tape or hook it at eye level.
Add layered paper behind it for depth if you want. Keep it simple so removal is easy.
This is renter-friendly and takes only minutes to set up.
9. Paper Chain Green Garland
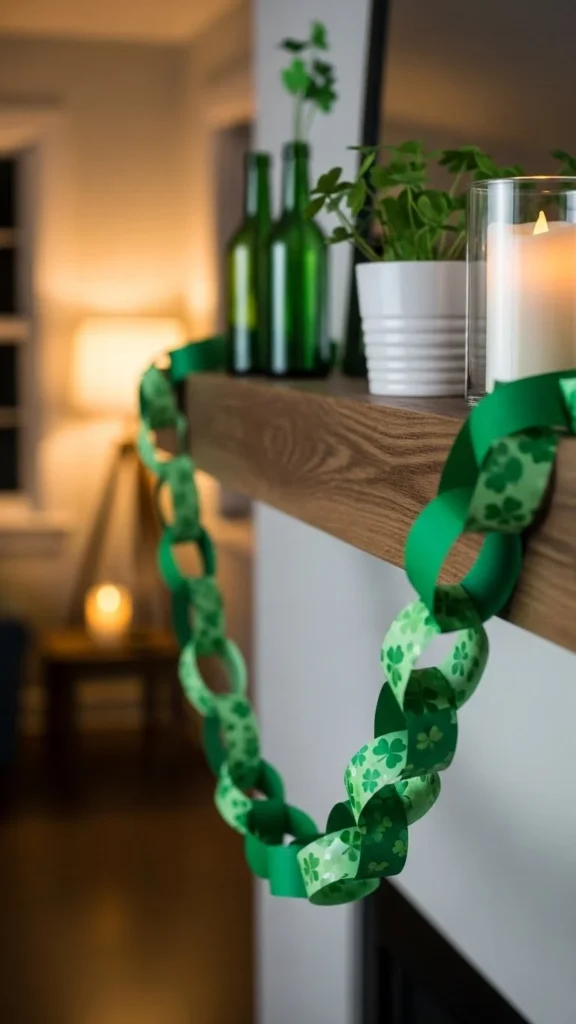
Paper chains are classic for a reason. Cut strips of green paper and loop them together with glue or tape.
Hang them across mantels, stairs, or shelves. Mix light and dark green shades for interest.
This project is kid-friendly and stores easily in a bag.
10. Paper Rainbow Wall Arch
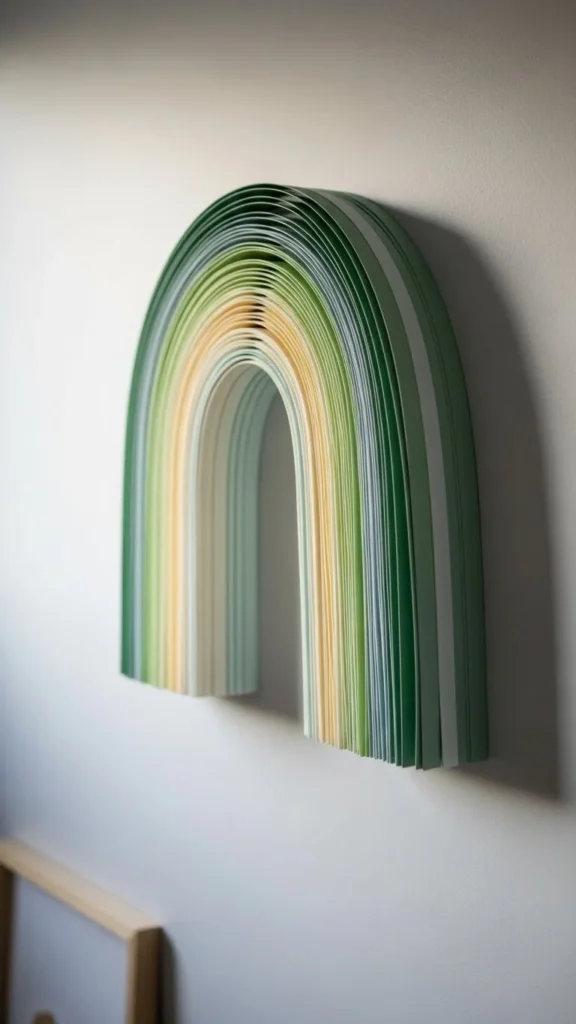
Create a rainbow using curved paper strips. Tape them in an arch shape on the wall. Keep colors simple.
This works well behind tables or reading corners. Remove gently after the day ends.
Paper arches add charm without clutter.
11. Paper Shamrock Table Place Cards
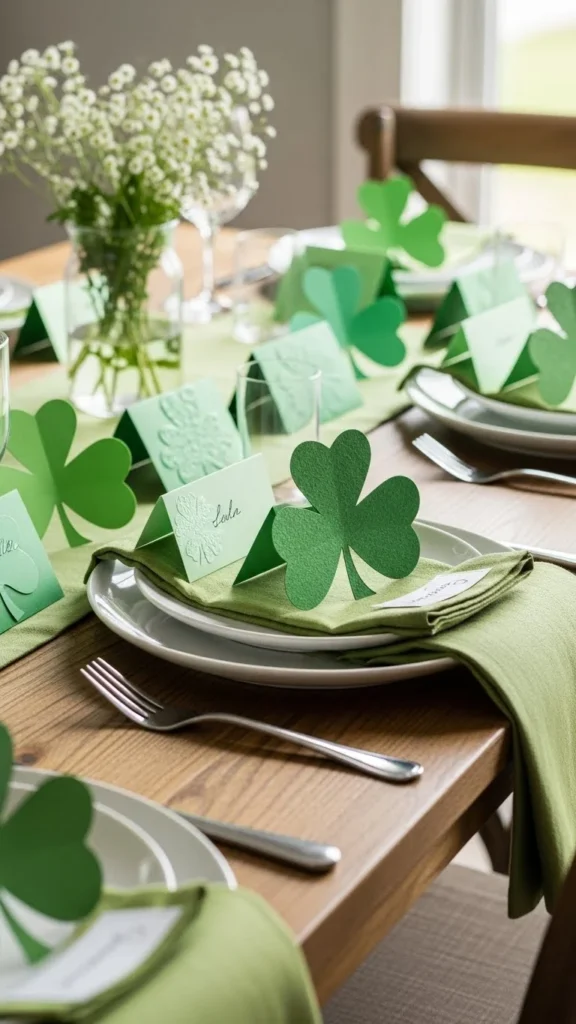
Fold shamrock shapes to stand upright. Use them as place markers or table accents.
No writing required if you want a clean look. This works well for meals or gatherings.
After use, flatten and store.
12. Paper Clover Mobile
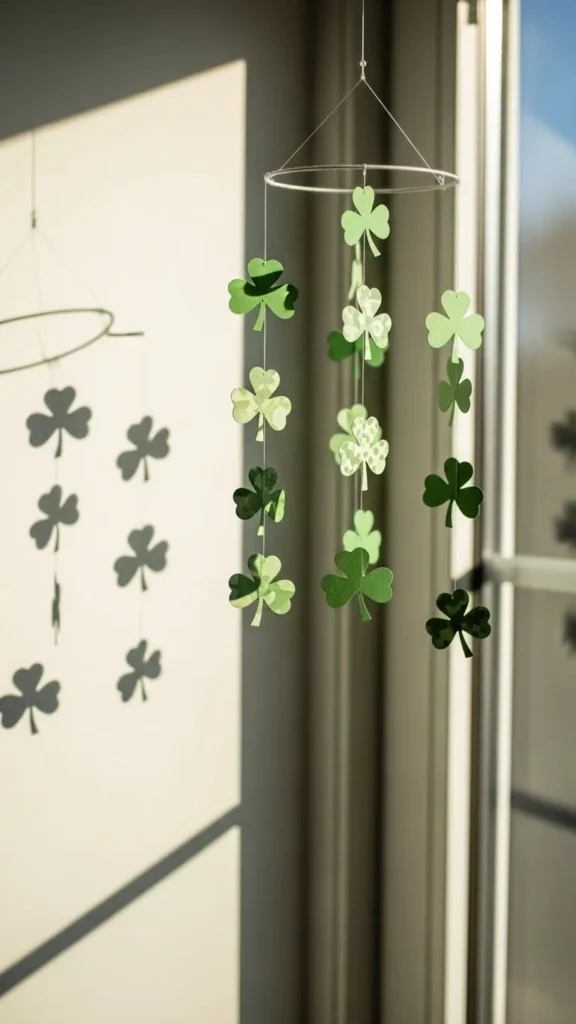
Create a hanging mobile using paper clovers and string. Hang from a ceiling hook or curtain rod.
Keep spacing loose so it moves gently. This works well in kids’ rooms.
Use lightweight paper to keep it balanced.
13. Paper Flag Banner in Green Tones

Cut triangle flags from paper and string them together. Keep colors simple.
Hang above a table or shelf. This idea is fast and reusable.
Store rolled to avoid creases.
14. Paper Clover Framed Art
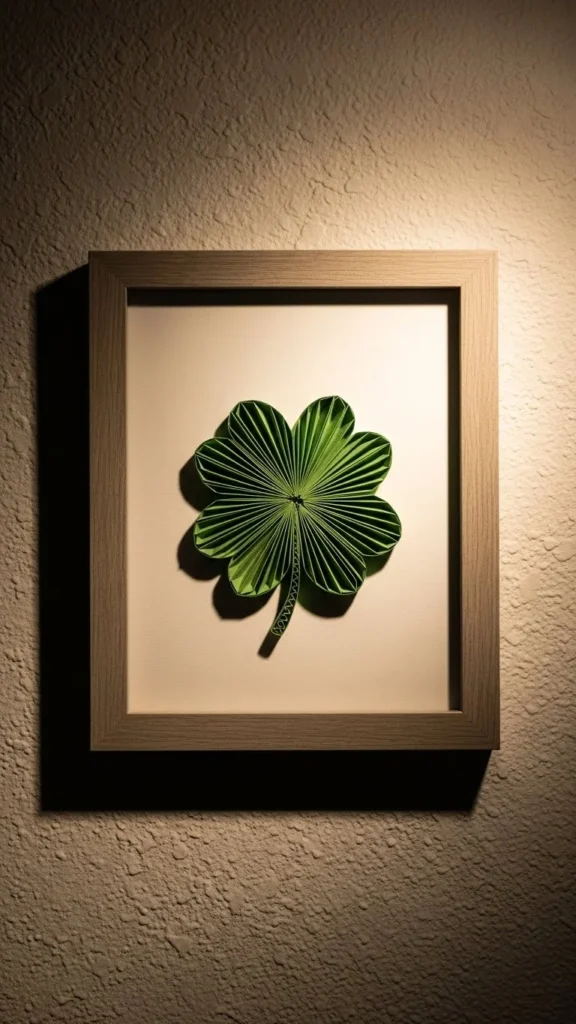
Place paper clovers inside frames you already own. No glue needed.
Lean frames on shelves or hang them briefly. Swap out after the holiday.
This keeps decor tidy and controlled.
15. Paper Leprechaun Beard Cutouts
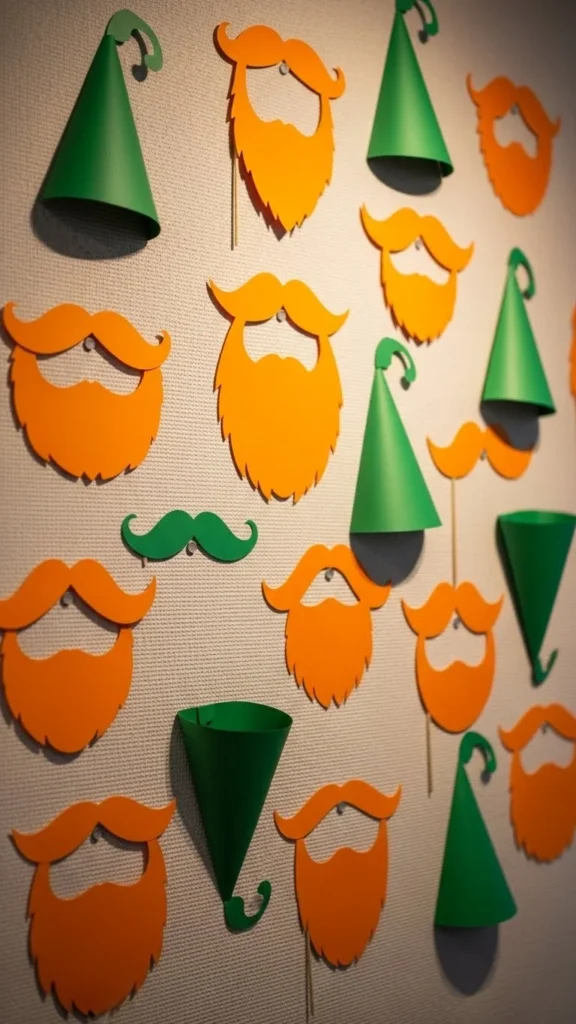
Cut simple beard shapes from orange paper. Pair with green hats nearby.
This adds character without effort. Works well for kids’ spaces.
Store shapes together in one folder.
16. Paper Shamrock Stair Accents
Tape shamrocks along stair walls or rails. Keep spacing loose.
This adds color without blocking movement. Remove easily later.
Use lightweight paper for easy removal.
17. Paper Clover Gift Wrap Accents
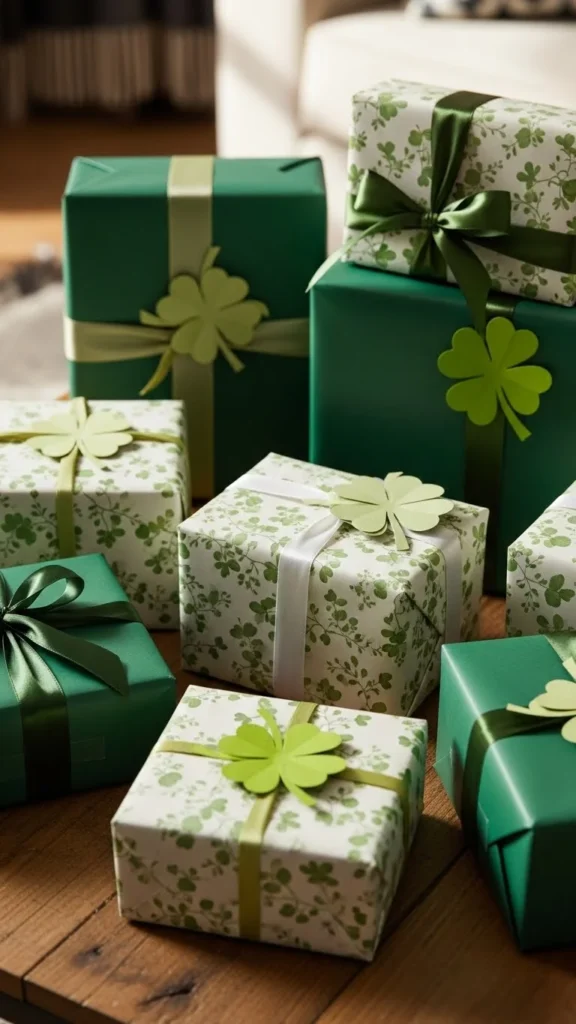
Cut small clovers and tape them onto wrapped items. No special ribbon required.
This works well for treats or small gifts. Save clovers afterward.
This idea uses scraps and costs nothing.
18. Paper Window Corner Decor
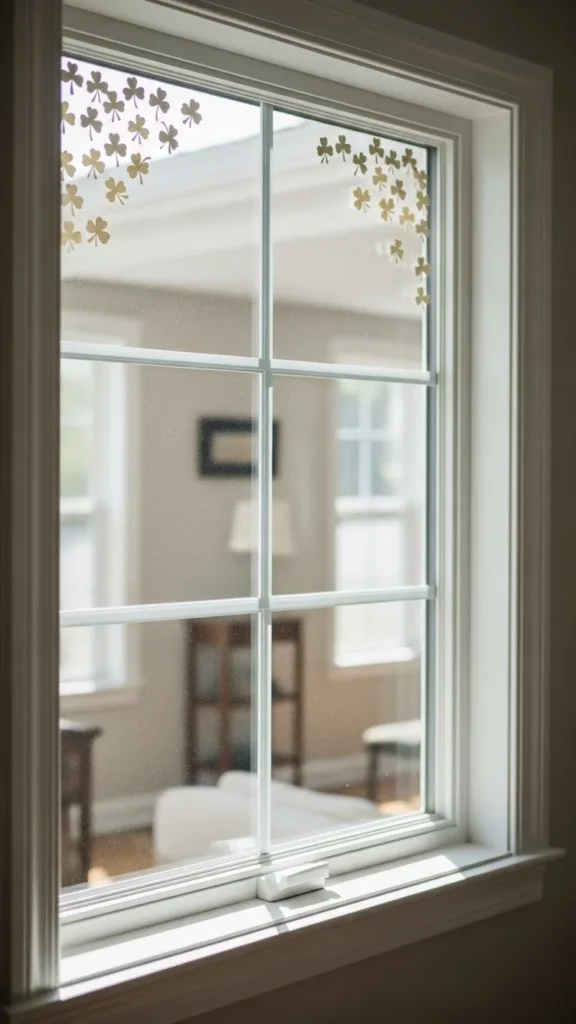
Place clovers in window corners instead of full coverage. This keeps light flowing.
Great for small rooms. Easy to remove.
Paper stays flat and neat.
19. Paper Shamrock Table Runner

Lay paper clovers down the center of a table. Overlap slightly.
This replaces fabric runners for the day. Easy cleanup afterward.
Stack and store flat.
20. Paper Clover Mirror Decor

Tape clovers around mirror edges. Keep placement loose.
This adds color without blocking reflections. Remove gently.
Use painter’s tape for safety.
21. Paper Lucky Number Decor
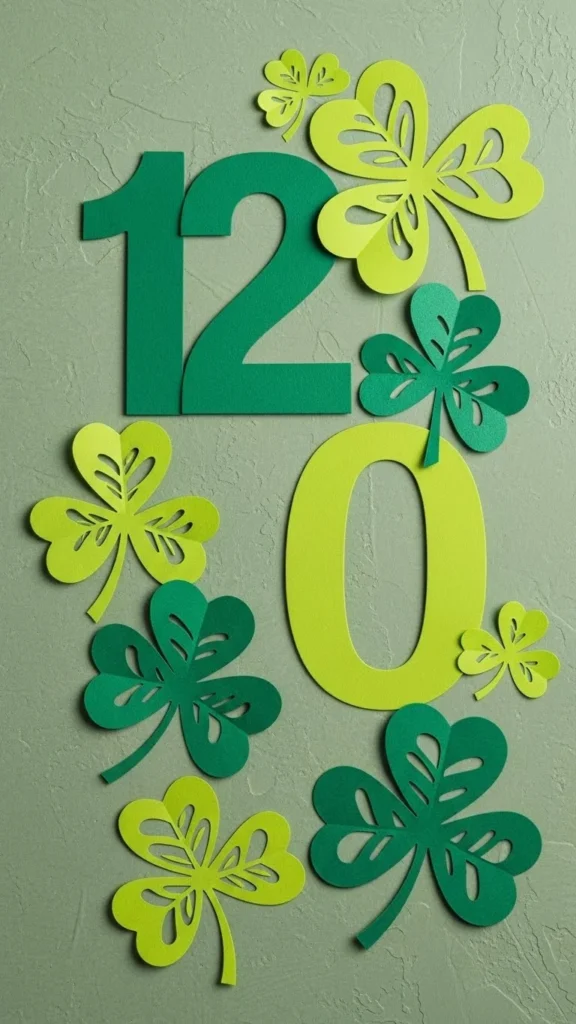
Cut number shapes like sevens or threes. Pair with clovers nearby.
This adds meaning without words. Keep shapes bold.
Store flat after use.
22. Paper Shamrock Chair Backs
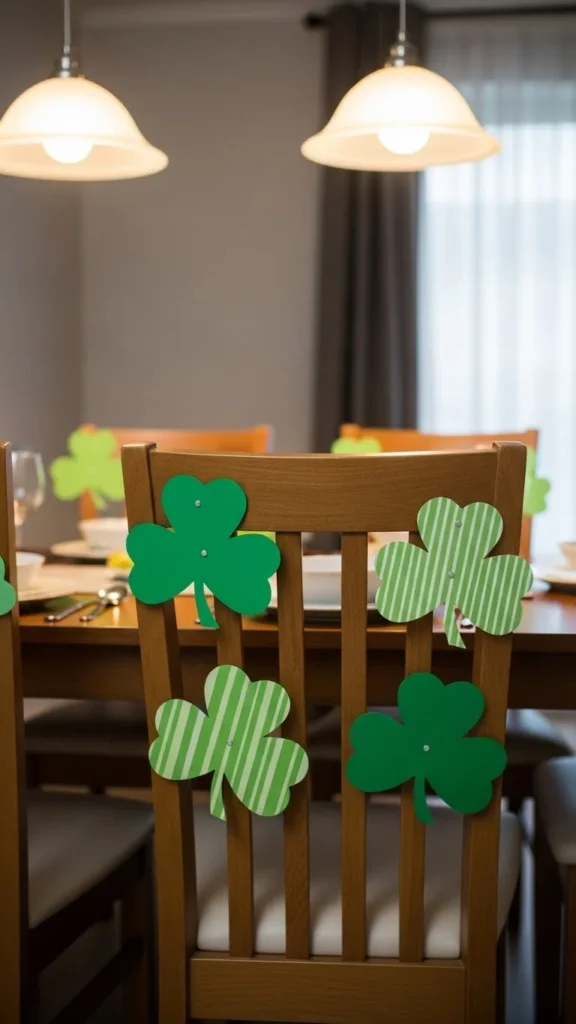
Tape or clip shamrocks onto chair backs. Use lightweight paper.
This adds color to seating areas. Remove easily after meals.
Reuse year after year.
Conclusion
Paper decor makes St Patrick’s Day decorating simple, affordable, and stress-free. These ideas use basic supplies and short time blocks, which makes them easy to repeat each year. Pick one or two projects to start, then build from there if time allows. Save your paper pieces flat so setup stays quick next season. Choose what fits your space and enjoy the process.

Leave a Reply