
Choosing and hanging wall art can completely transform a space — turning blank walls into a beautiful expression of your personality and style. The right artwork can make your home feel warm, balanced, and uniquely yours. Whether you’re decorating your first apartment or refreshing your living room, learning how to choose and hang wall art like a pro is easier than you think.

Understand Your Space and Style
Before you start browsing for wall art, take a moment to understand your space. Think about the room’s mood, color palette, and overall aesthetic.
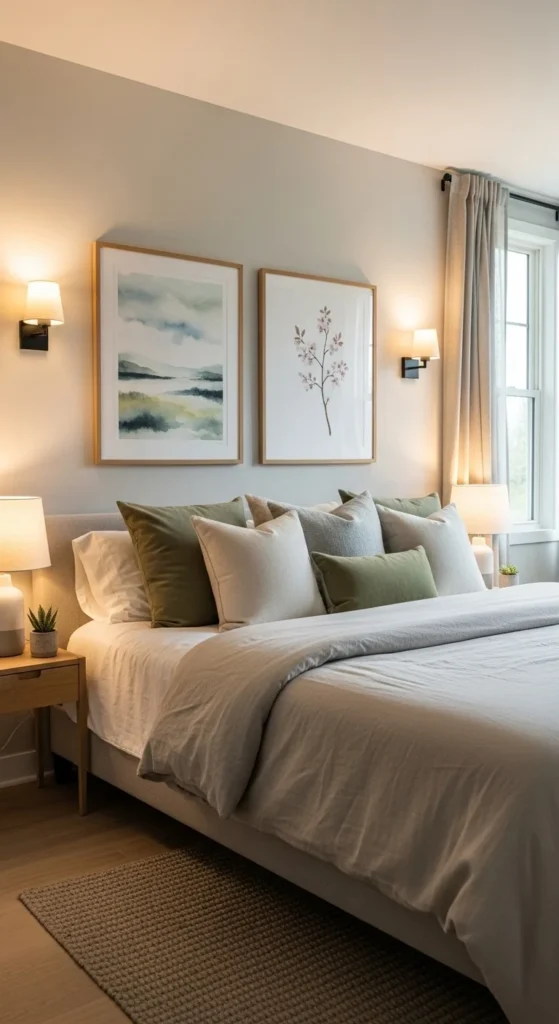
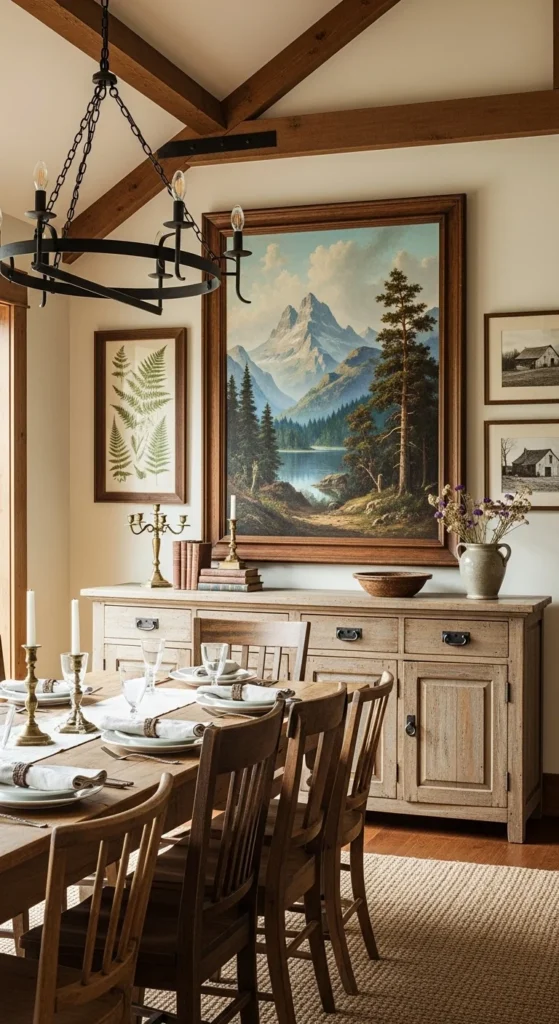
- Match the mood: Calming landscapes or minimalist prints work beautifully in bedrooms, while bold abstract pieces bring life to living rooms and dining spaces.
- Coordinate with colors: Choose art that complements your existing décor — echoing shades from your throw pillows, rugs, or curtains.
- Size matters: A small piece on a big empty wall can look lost, while an oversized canvas in a tight hallway might feel overwhelming.
Choose the Right Type of Art
Wall art comes in all forms — from framed prints to canvases, photography, tapestries, and even sculptural pieces. Mixing styles can add depth and visual interest.
- Canvas prints: Great for creating a clean, modern look without the glare of glass.
- Framed art: Perfect for traditional or minimalist rooms, especially when you use consistent frame colors.
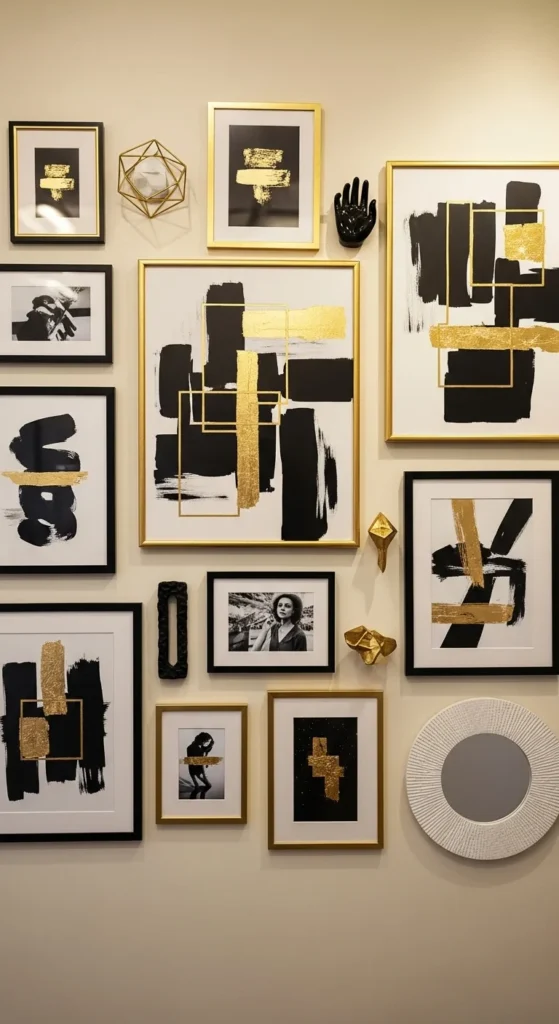
- Photo galleries: Personal photographs arranged in a grid or asymmetrical layout make any wall feel intimate and meaningful.
- 3D or textured pieces: Add personality and contrast to otherwise flat walls.
Tip: Mix different types of art to make a gallery wall dynamic, but stick to a common theme — like a similar color scheme or subject.
Plan Your Layout Before Hanging
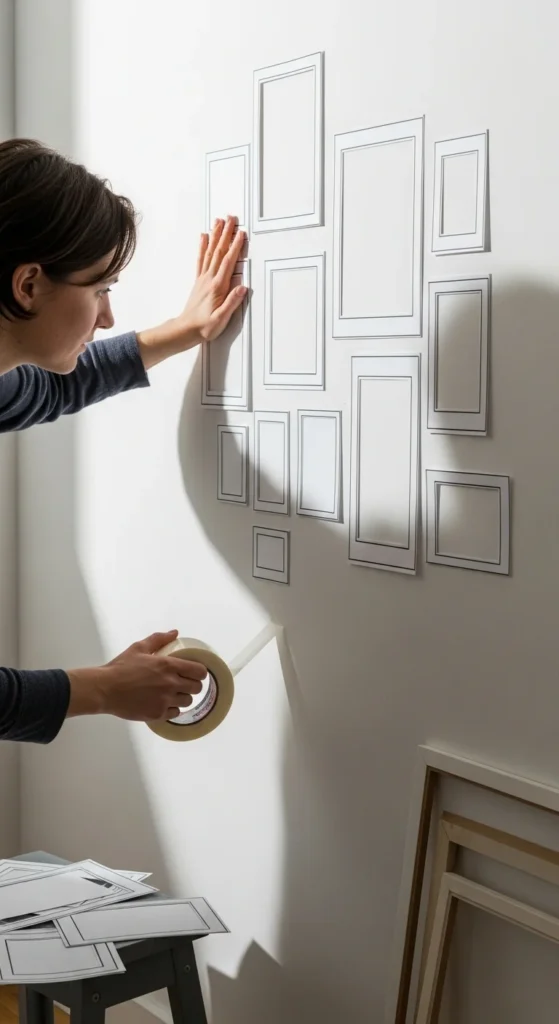
Before hammering any nails, it’s essential to plan your layout. This step saves time and helps you visualize the final look.
- Lay it out on the floor: Arrange your artwork on the floor first to test different combinations and spacing.
- Use paper templates: Trace your frames on craft paper, cut them out, and tape them to the wall to experiment with placement.
- Follow the “eye-level” rule: Hang artwork so the center of the piece is about 57–60 inches from the floor — roughly at eye level for most people.
- Mind the furniture: If hanging above a sofa or console table, keep the bottom of the artwork 6–8 inches above the furniture’s top edge.
Create a Cohesive Look with Balance and Spacing
Once you’ve selected your pieces, think about balance and proportion. Even with different frame styles and sizes, your arrangement should feel harmonious.
- Symmetrical layout: Ideal for formal rooms — use matching frames and even spacing.
- Asymmetrical layout: Works well in casual or modern spaces; balance is achieved through equal visual weight rather than identical shapes.
- Spacing tips: Keep frames 2–4 inches apart for smaller groupings and up to 6 inches for larger walls.
Bonus idea: Combine large statement pieces with smaller accents to guide the eye naturally across the wall.
Use Proper Tools and Techniques
Professional results depend on the right tools and a bit of patience. You don’t need to be a handyman to hang art like a pro — just follow these simple steps:
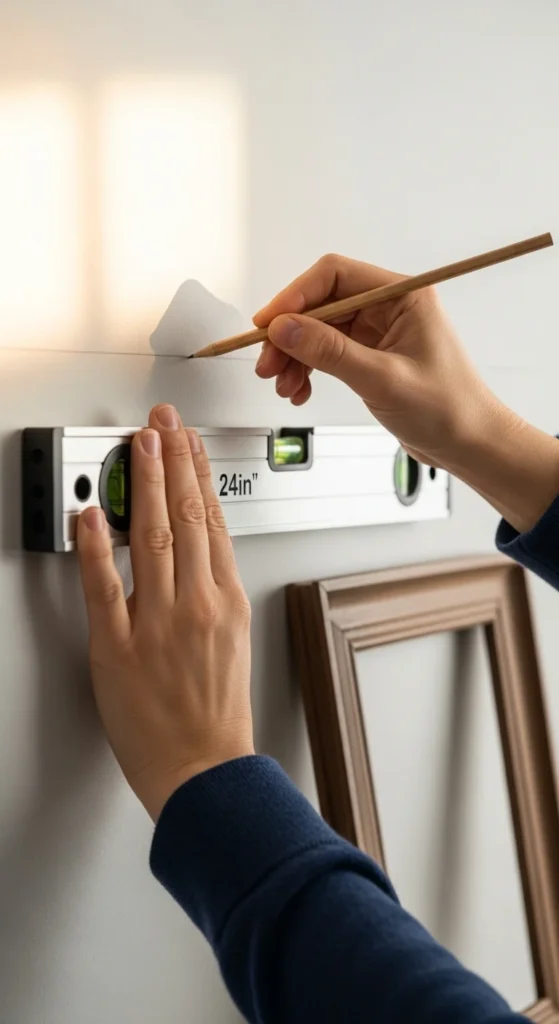
- Gather essentials: Use a level, measuring tape, pencil, picture hooks, and wall anchors if needed.
- Mark before drilling: Always measure twice to ensure even alignment.
- Check wall type: Drywall, plaster, or brick may require different anchors or hooks.
- Hang with purpose: Start with the central piece and build outward if you’re creating a gallery wall.
Add Finishing Touches
After hanging your artwork, step back and assess the overall feel. Small adjustments — like slightly shifting frames or changing lighting — can make a big difference.
- Enhance with lighting: Use wall sconces, track lights, or picture lights to highlight your art.
- Add greenery or decor accents: Potted plants or small shelves with decorative objects can make the wall feel complete.
- Rotate seasonally: Switch out art or photos throughout the year for a fresh look.
Final Thoughts
Choosing and hanging wall art doesn’t have to be intimidating — it’s an opportunity to express your creativity and elevate your home’s personality. With a little planning and the right techniques, you can turn any blank wall into a stunning focal point.
So grab your favorite pieces, measure carefully, and start decorating like a true pro.
Save this guide for later to inspire your next home refresh!

Leave a Reply